Measure Corrosion with the 4D InSpec
Use and environmental exposure inevitably lead to wear and corrosion of precision surfaces. Left unchecked corrosion can impede performance and can ultimately lead to component failure, sometimes with catastrophic results. Inspectors at repair and refurbishment facilities must be able to accurately measure corrosion and determine its severity in terms of pit depth and areal coverage. One small diameter, 0.002” deep pit may be acceptable; however, if a significant portion of the surface is corroded, its strength may be just as compromised as if a single large corrosion feature were present.
The most used method to measure corrosion is visual inspection. This method is very open to interpretation, however, and operators typically only estimate the depths of what appear to be the most severe features. There is also no established method to estimate the actual area affected by corrosion pits. Lastly, because pit depth measurement is inaccurate inspectors must round up as a safety factor, which frequently leads to scrapping of components which are not necessarily beyond specification.
Nanometer resolution metrology systems can provide more exact, quantitative, 3D corrosion data. These systems, however, are typically too expensive to be affordable for most factory and repair facilities. The systems are typically too susceptible to vibration and noise for shop floor use. They are also most often confined to a measurement stand in a metrology lab, making measurement of large components impractical.
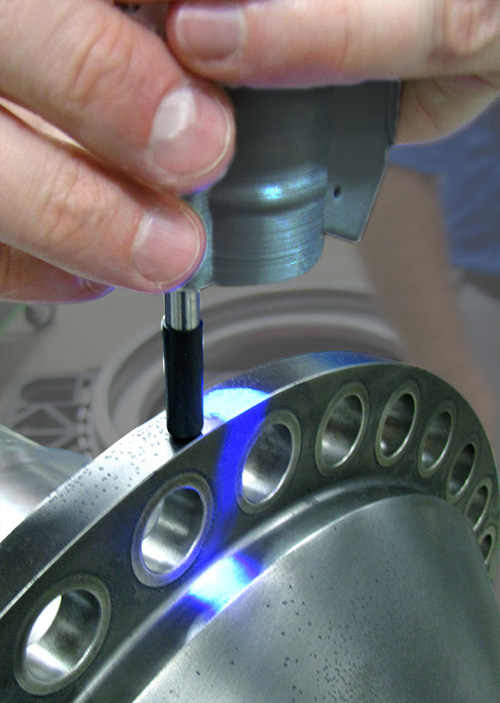
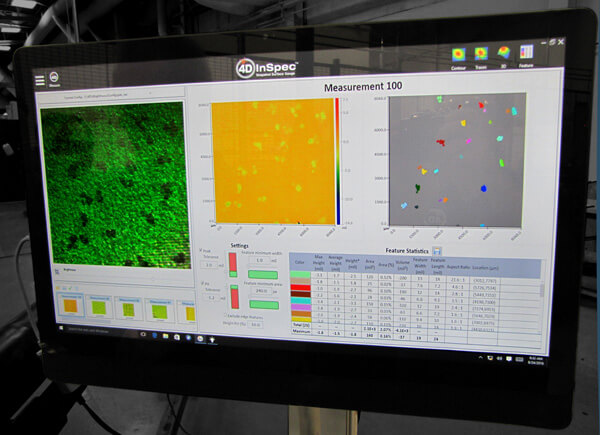
The 4D InSpec Surface Gauge is the first instrument to combine the speed and portability of a handheld gauge with the measurement resolution of much more expensive metrology systems. Unlike a depth gauge, which can assess just one feature at a time, the 4D InSpec instantaneously calculates the depth, width and volume of all pits within the field of view. An inspector can measure many fields of view per minute to quantify large portions of corroded components, providing a thorough and accurate assessment of the severity of corrosion.
Corrosion often occurs in corners and near edges — area of high stress, high temperatures or component-to-component contact. The 4D InSpec’s large depth of focus makes it possible for inspectors to access corners to measure corrosion in areas that no other system can access. The included software automatically removes surface curvature to accurately report the depths of all pits, as well as the maximum depth, the number of pits in an area, the percentage of area covered by pits, and the pit density. Height and width measurements are traceable to standards.
Additionally, an optional fold mirror attachment allows the 4D InSpec to function like a borescope, allowing inspectors to assess corrosion on fillets, on the interiors of pipes, and in other areas without direct line-of-sight.
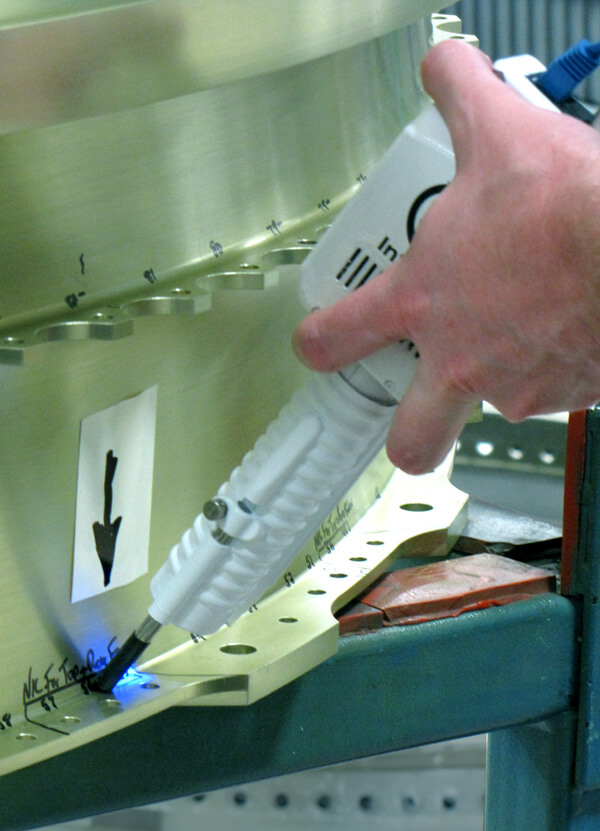
Measuring corrosion on a welded corner. Image Courtesy StandardAero.
The 4D InSpec Surface Gauge provides a thorough, accurate, repeatable assessment of all the precision surfaces of complex components. With a low purchase price and little ongoing maintenance the gauge makes high resolution measurement affordable for both small and large manufacturing and repair facilities. By fundamentally changing the way companies measure corrosion, the 4D InSpec helps companies properly identify potentially damaging corrosion, as well as avoiding the costly scrapping of expensive components that are truly within specification.


