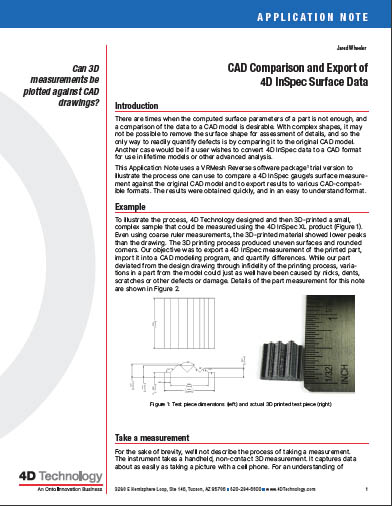
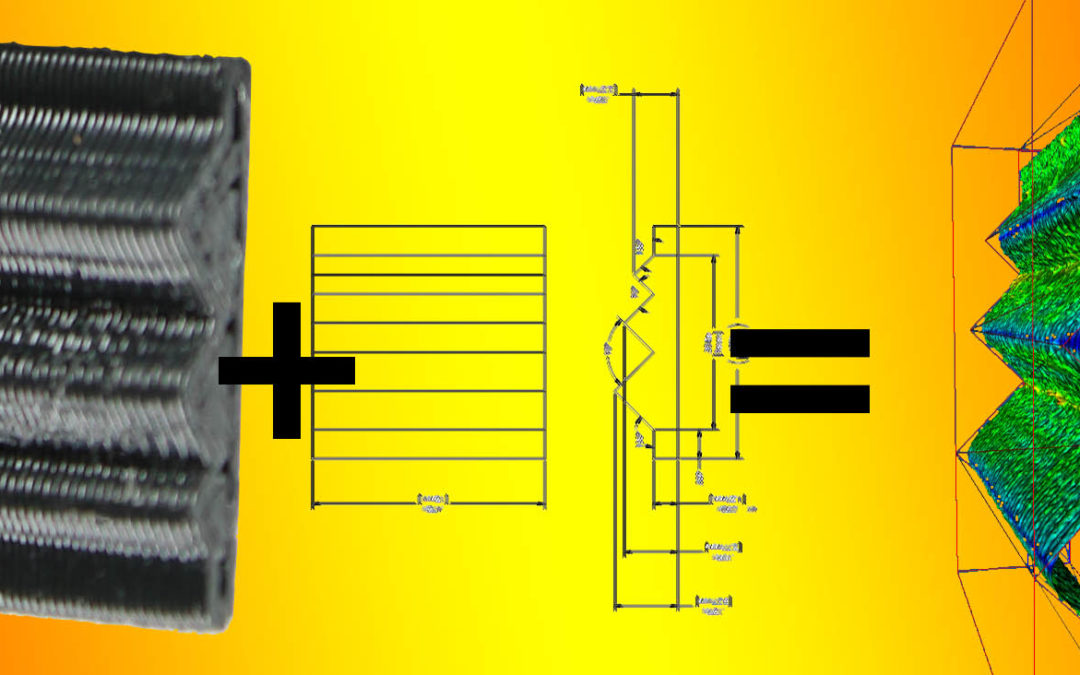
This 4D InSpec application note from Jared Wheeler is a great demonstration of measurement of a part to its designed shape.
It shows a simple example of exporting a 3D measurement from 4D InSpec as .XYZ, then importing that and the CAD file for the part surface in a third-party software package, comparing the measured part to the designed CAD model.
Being able to compare a surface measurement to a model can be important:
- where complexity of the surface makes it difficult to isolate features
- as a way to compare the fidelity of a 3D printed or machined part to the design
- as an aid to reverse engineering a part that doesn’t have an original CAD model
We have had a number of customers ask about this capability for 3D measurements over the years. With the small field of view of an optical profiler, that’s not extremely useful. With 4D InSpec XL, the large (15mm x 15mm) field of view and depth of scan makes the application more practical than ever.


