Measuring Turbine Blades
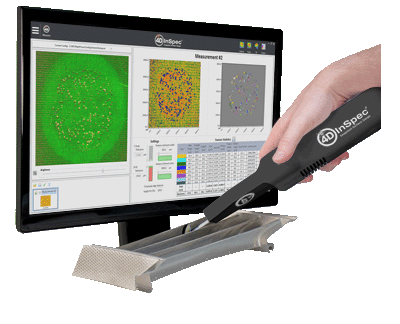
Measuring a turbine blade with 4D InSpec is an easy matter. You may inspect a wide range of blade elements and features with high versatility:
- Deformations of blade edges
- Surface defects
- Defects between blades
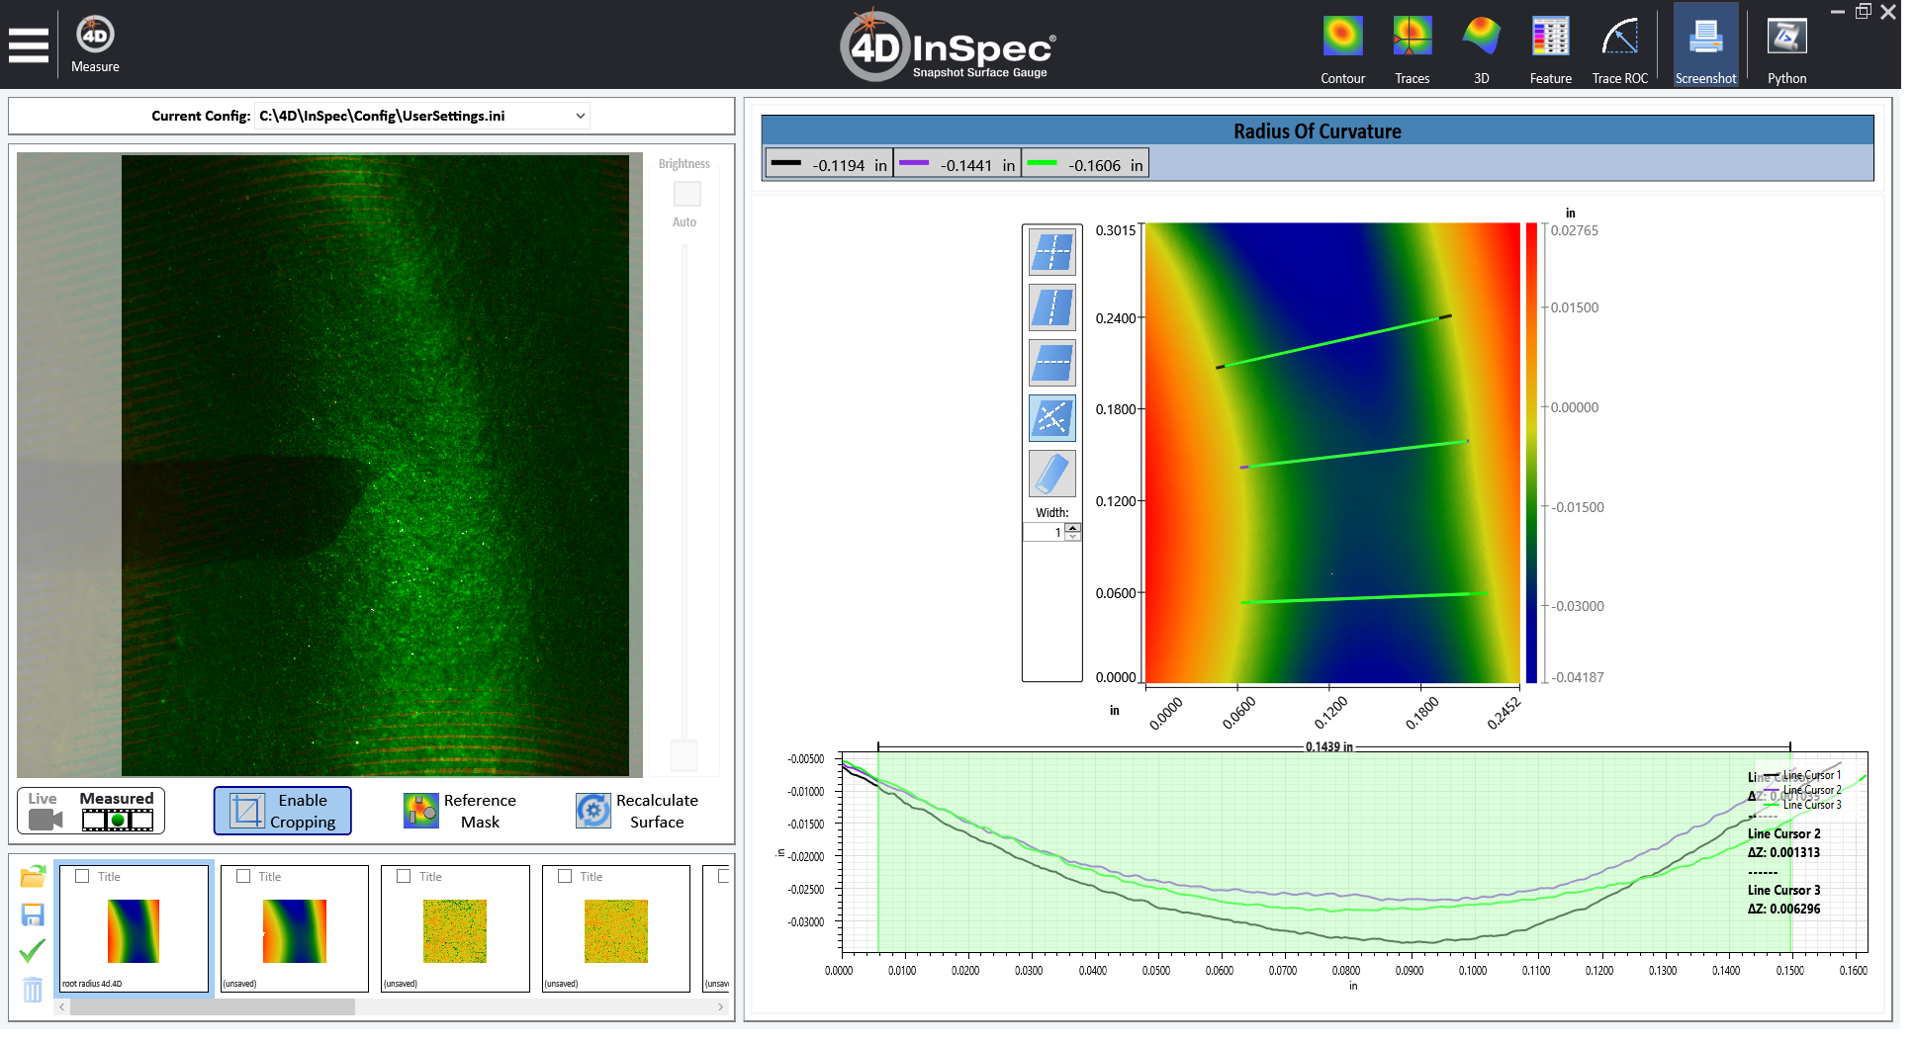
- Radius of curvature
Blade Edge Measurements
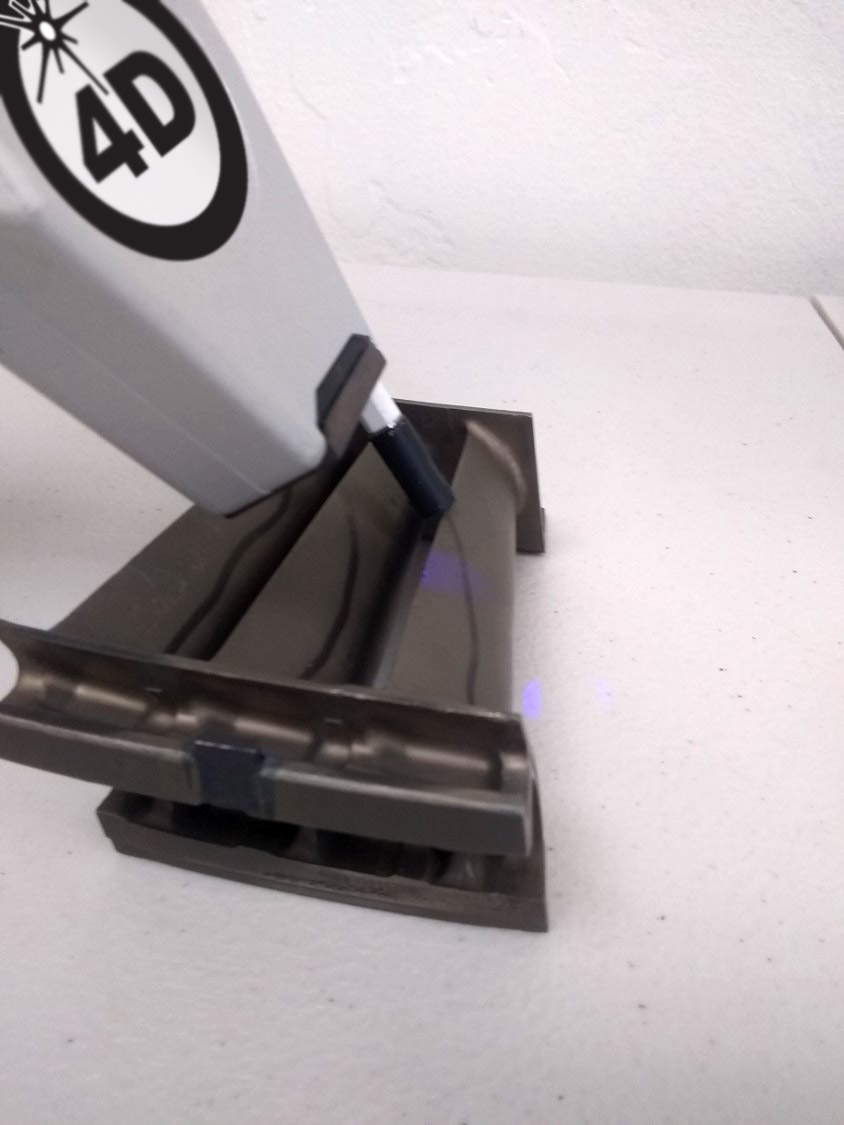
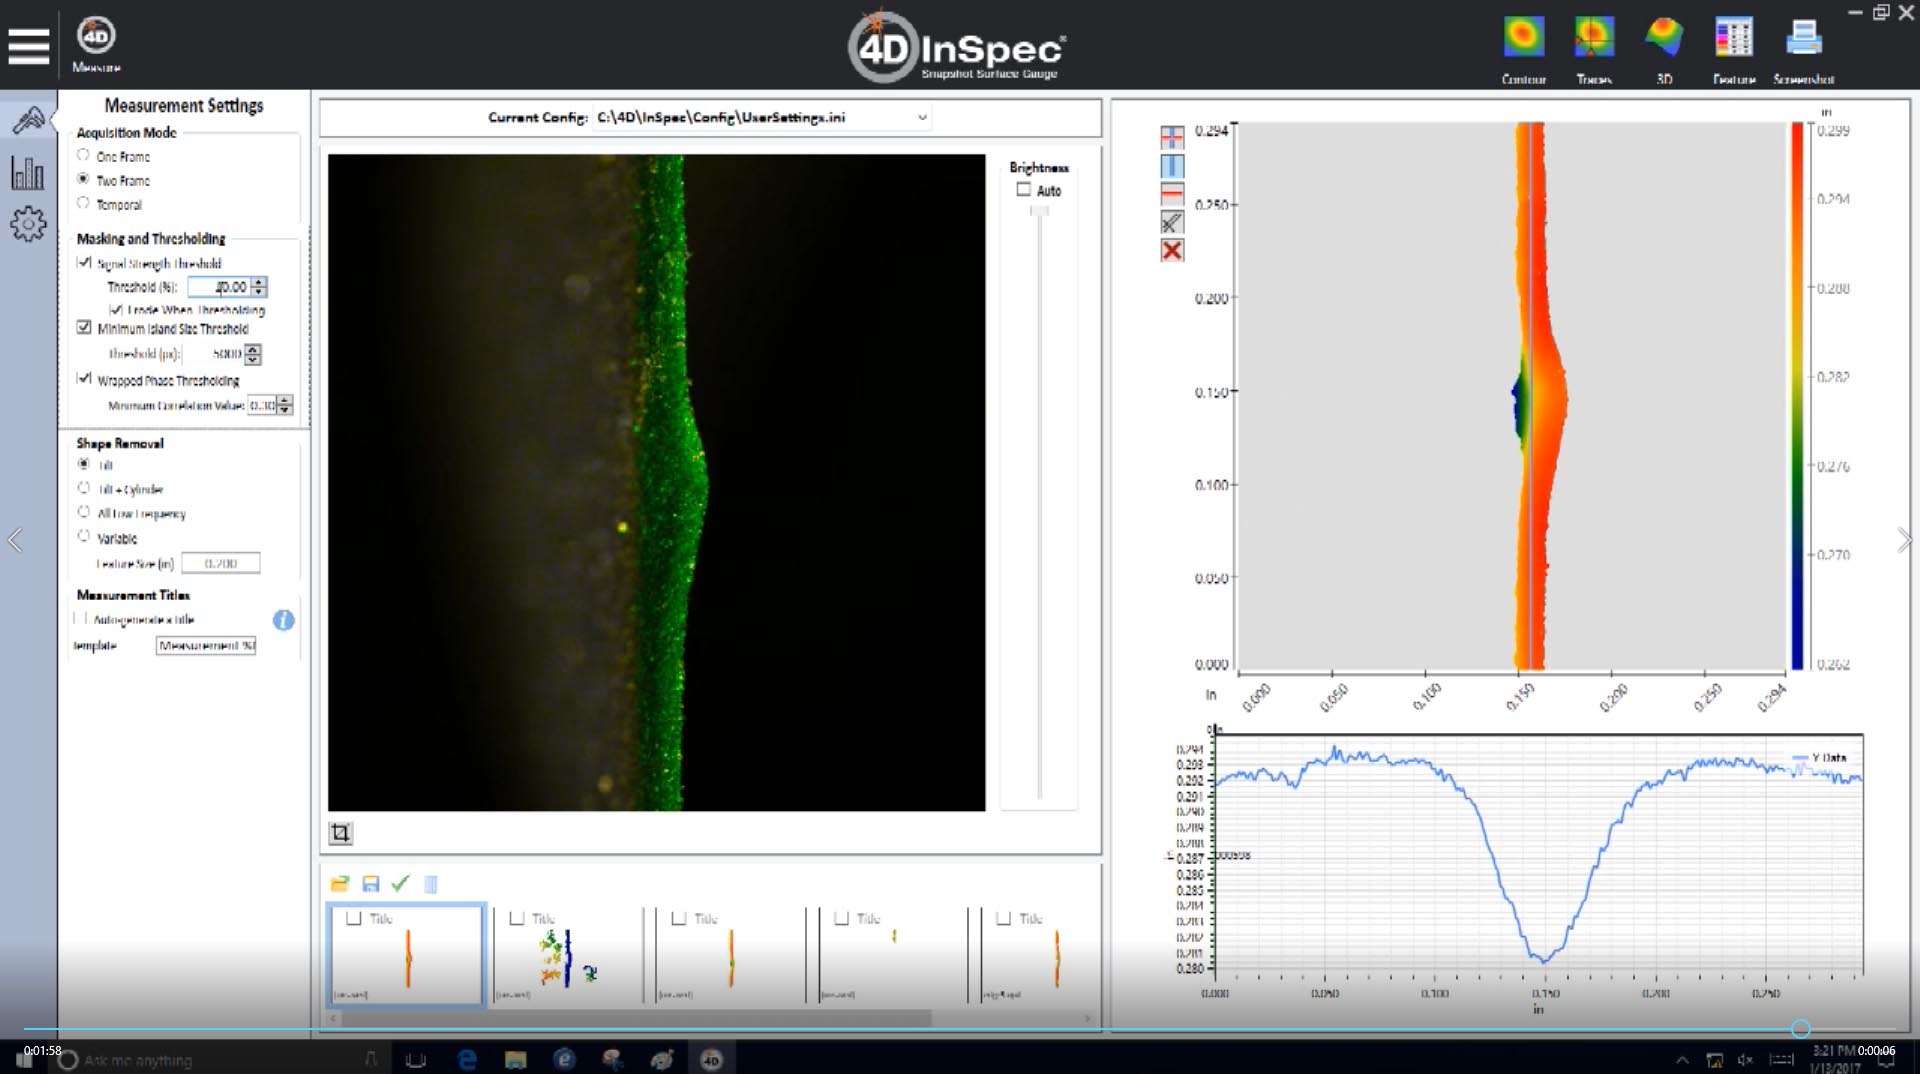
Grooved focus aids help you hold 4D InSpec in alignment with a turbine blade edge. From a measurement, you can quantify dents and deflections from damage.
Surface Defects
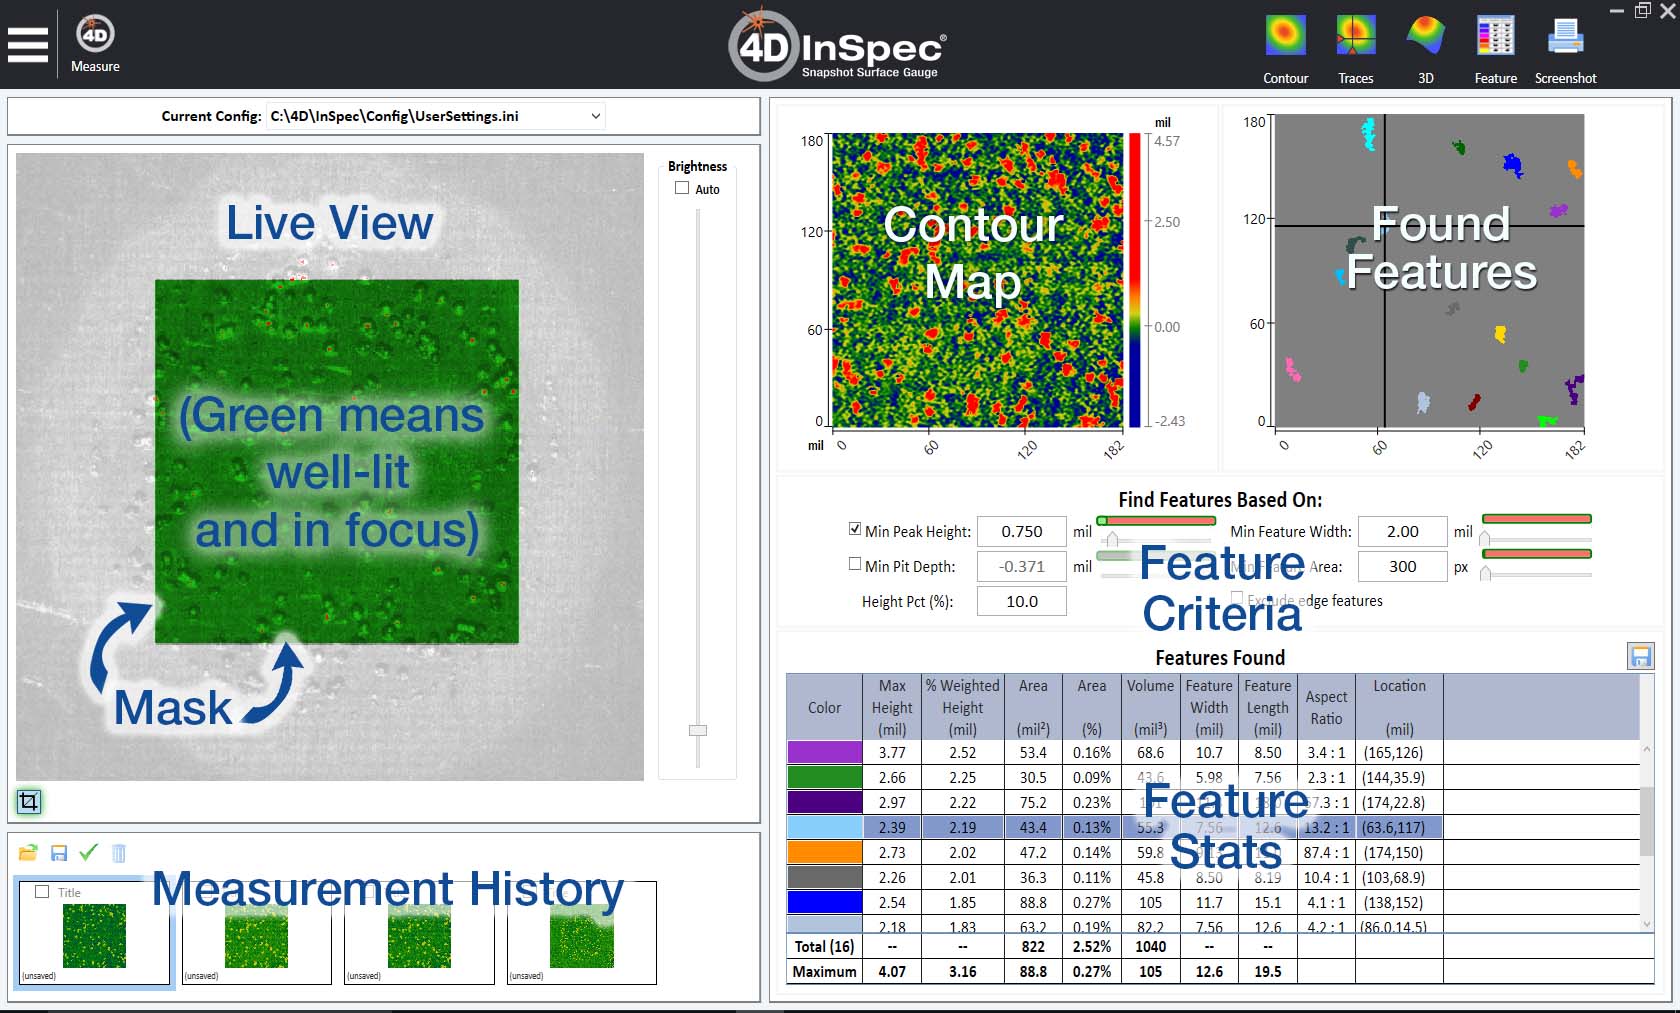
Automated feature analysis can be used to isolate and quantify different kinds of defects found in a measurement.
Defects Between Blades
Use a fold mirror to measure surfaces between closely placed blades.
Radius of curvature
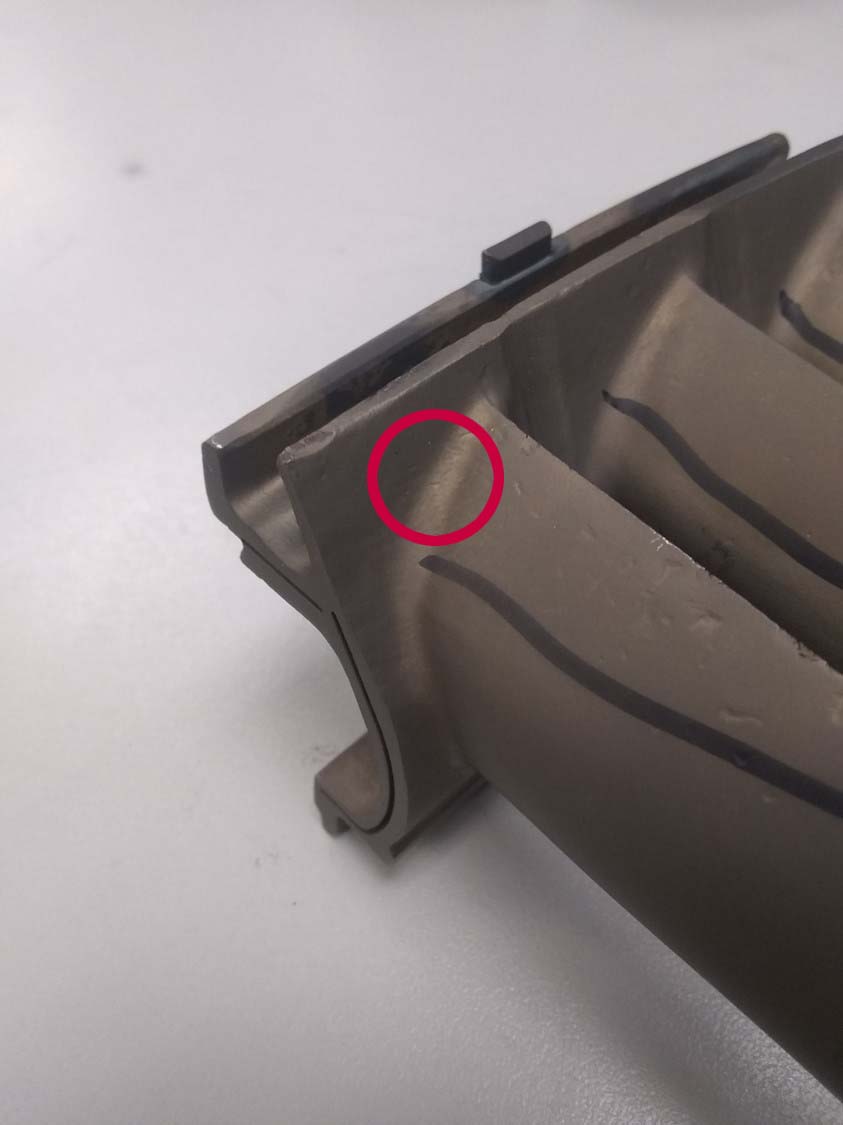
The photo below shows an area of curvature, and a measurement that calculates the radius of curvature in the joint.
Added Technical Resources
Measuring Turbine Blade Surface Defects
Step by step video guide shows how quick and easy it is.
Learn more about the products
4D InSpec
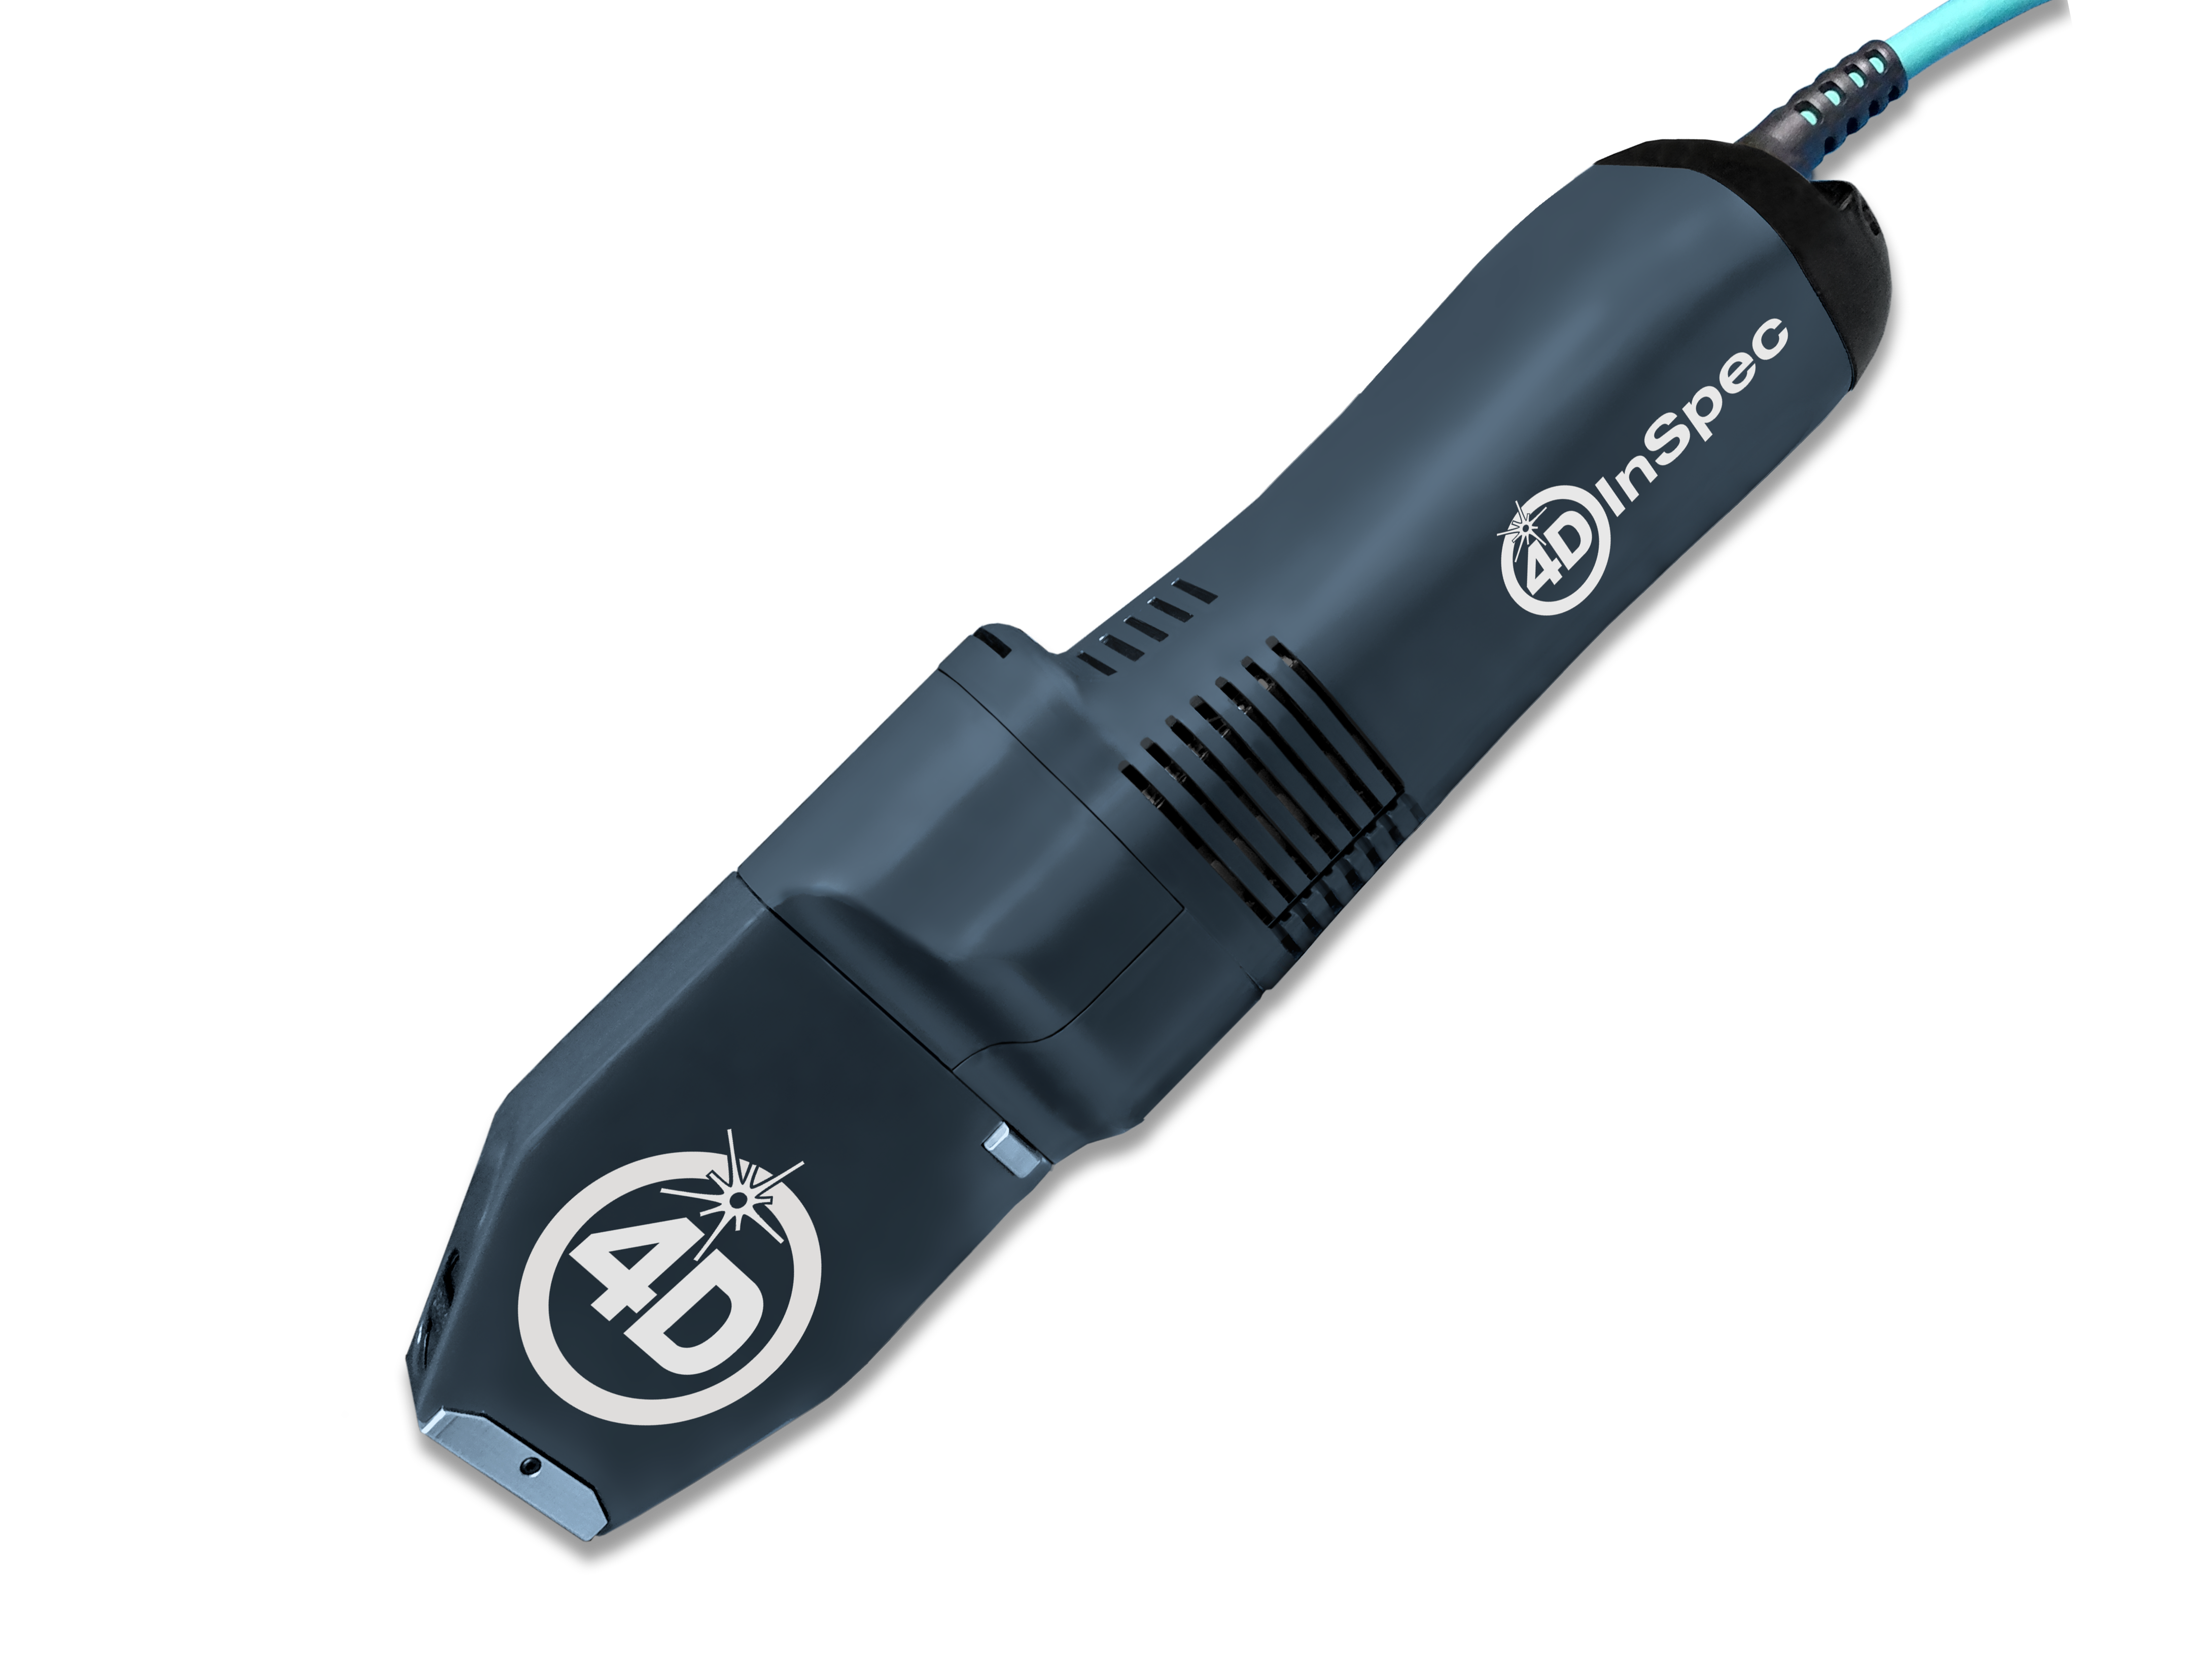
4D InSpec provides non-contact measurement of surface features and defects, on the factory floor, in machine shops and in field service applications.

4D InSpec XL
A handheld defect inspection gauge that works like 4D InSpec standard, but with a larger field of view, to measure wider and deeper features.
InSpec Accessories
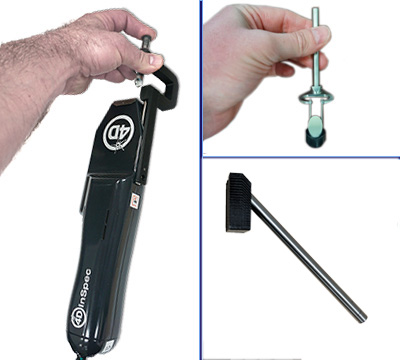
Accessories for improving portability, ease of use, or for accessing hard to reach measurements like sidewalls and through-holes.
Get In Touch
(520) 294-5600
Location
3280 E Hemisphere Loop, Ste 146
Tucson, AZ 85706
4Dinfo@ontoinnovation.com
Office Hours (Arizona Time)
Mon: 8am – 5pm
Tue: 8am – 5pm
Wed: 8am – 5pm
Thur: 8am – 5pm
Fri: 8am – 5pm
Sat: Closed
Sun: Closed
Send a Message

