Wear Scars
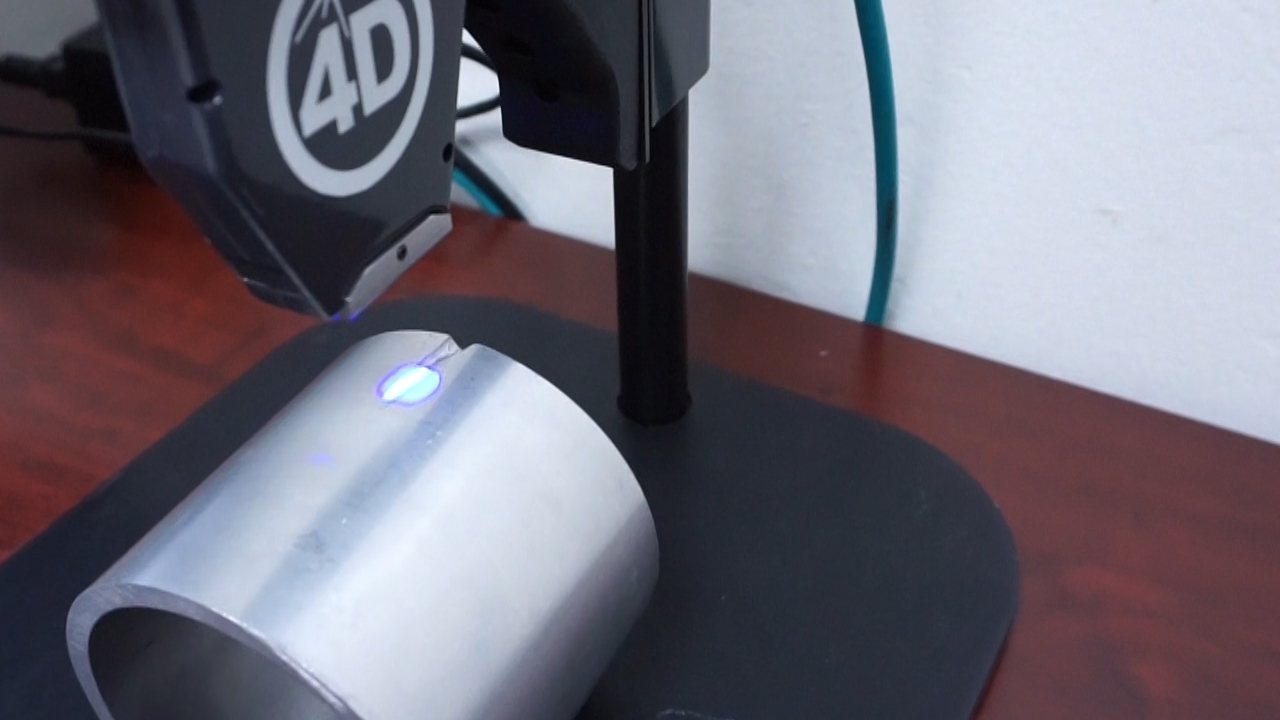
Wear scars and material removal calculations are available in 4D InSpec’s measuring and analysis software.
By taking a direct measurement, you can obtain a peak to valley parameter easily using the analysis screen. But in the case of this sample, the surface around the wear is cylindrical. The result is that a pixel or two variation can produce a very different interpretation of the featured groove.
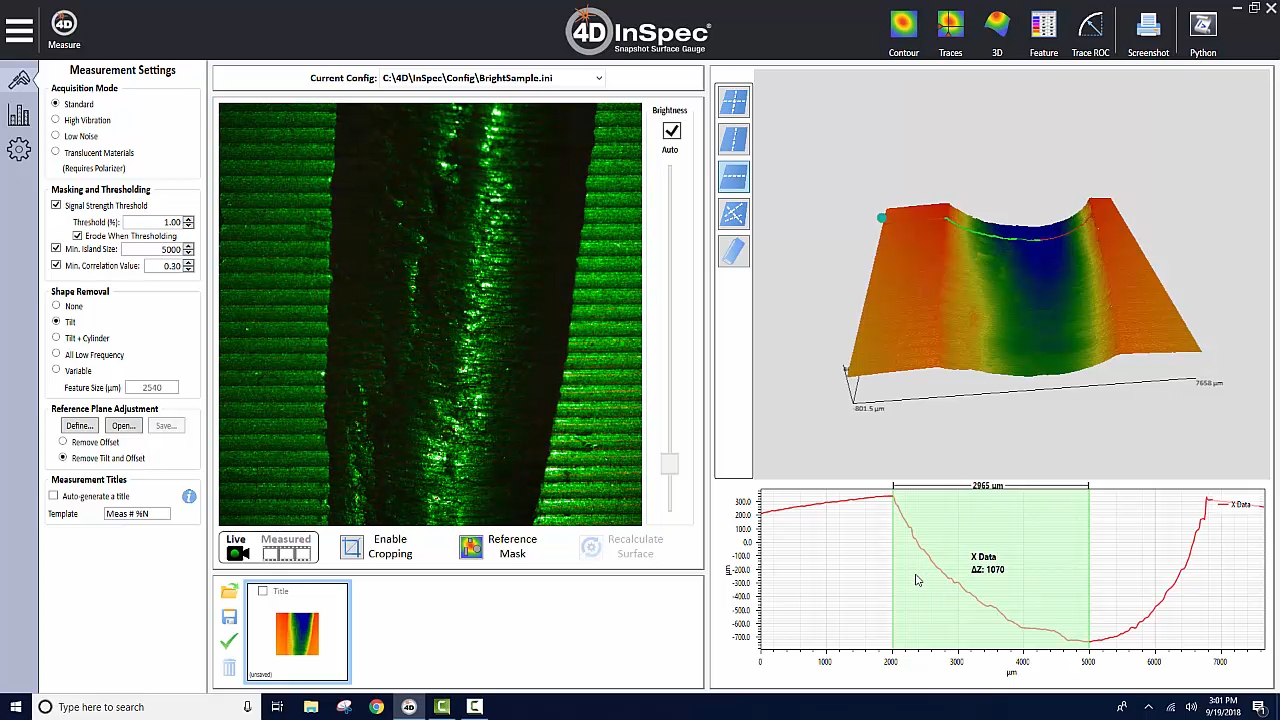
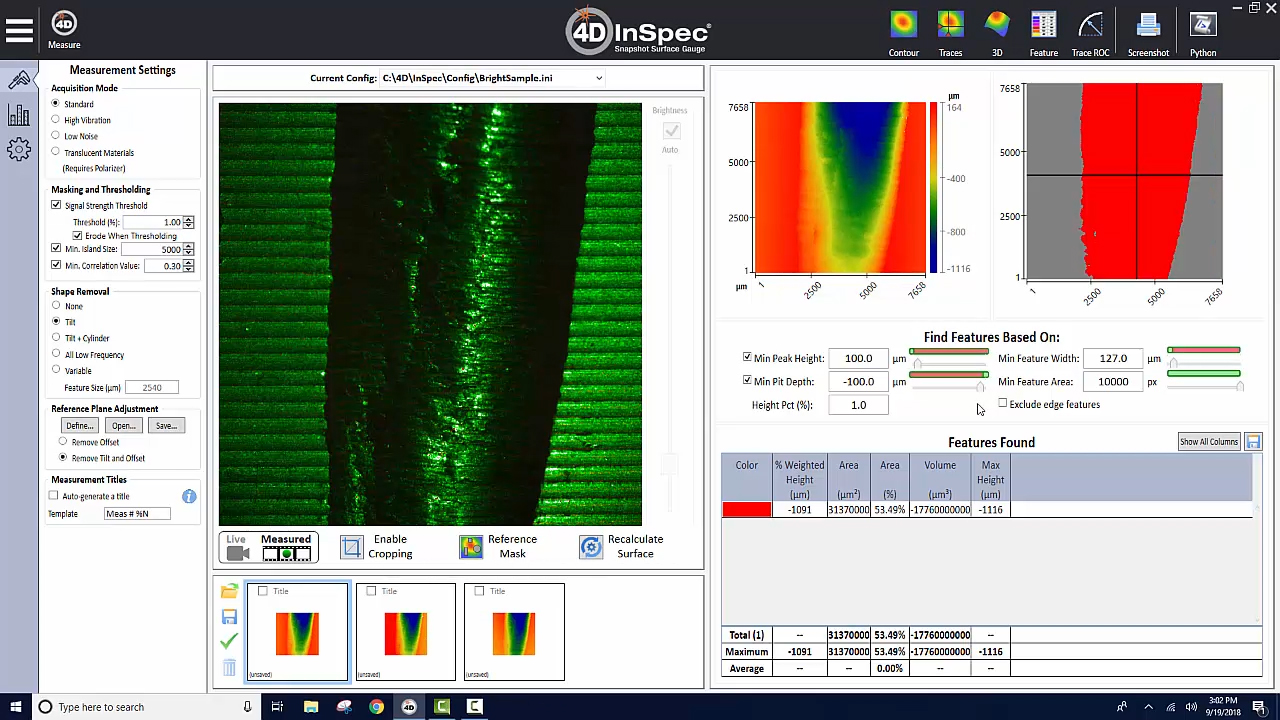
Using the built-in leveling masks, the plateaus to the left and right are treated as flat, meaning the roll-off of the cylinder doesn’t count against the measurement of the depth of the groove.
It’s easy! Ask for a demo on your part.
Added Resources
Measuring Surface Features with High Resolution in Factory Environments
Because of the lack of rapid, accurate, shop floor measurement, inspectors often lack confidence in their assessments. The overly cautious estimations that result mean that rejection rates are typically much higher than necessary.
Analyzing 3D defects in machined parts with reference masks
This short video shows you how quickly you can compensate for effects of a cylinder in the analysis software.
Learn more about the products
4D InSpec
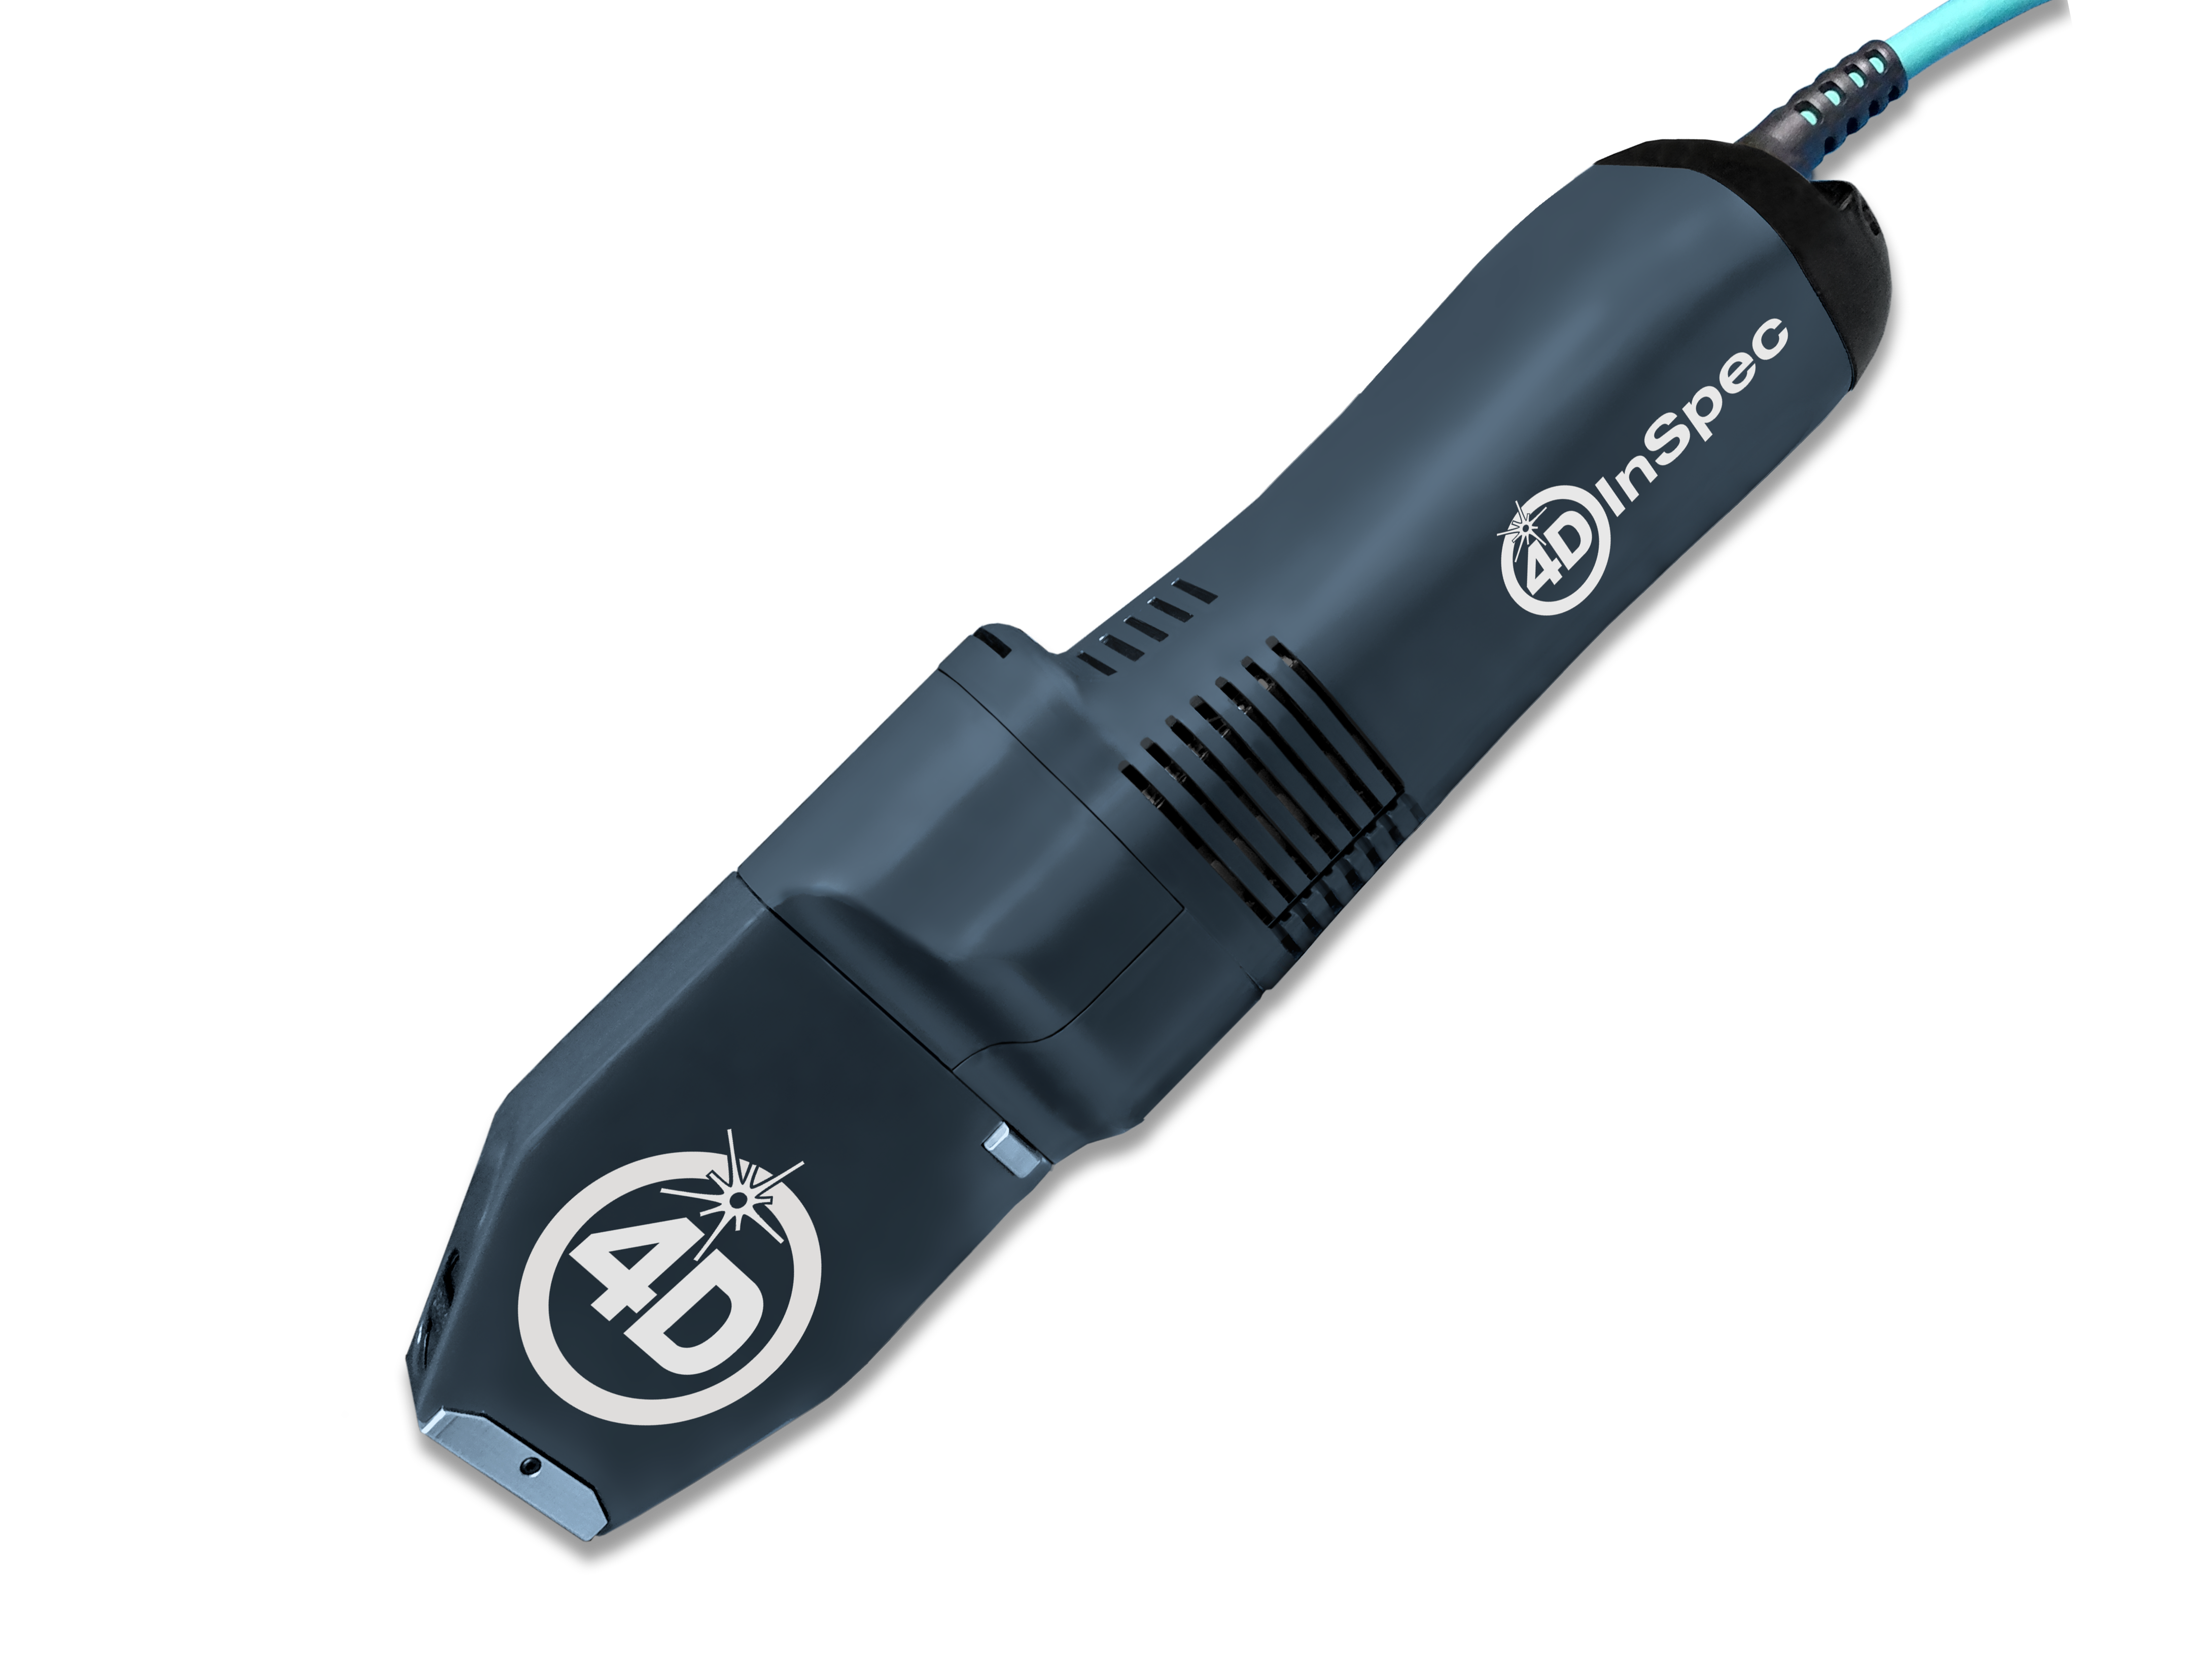
4D InSpec provides non-contact measurement of surface features and defects, on the factory floor, in machine shops and in field service applications.

4D InSpec XL
A handheld defect inspection gauge that works like 4D InSpec standard, but with a larger field of view, to measure wider and deeper features.
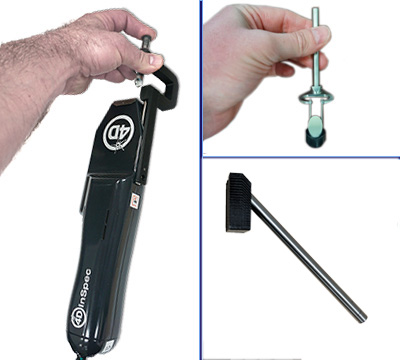
InSpec Accessories
Accessories for improving portability, ease of use, or for accessing hard to reach measurements like sidewalls and through-holes.
Get In Touch
(520) 294-5600
Location
3280 E Hemisphere Loop, Ste 146
Tucson, AZ 85706
4Dinfo@ontoinnovation.com
Office Hours (Arizona Time)
Mon: 8am – 5pm
Tue: 8am – 5pm
Wed: 8am – 5pm
Thur: 8am – 5pm
Fri: 8am – 5pm
Sat: Closed
Sun: Closed
Send a Message
