Spherical Optics
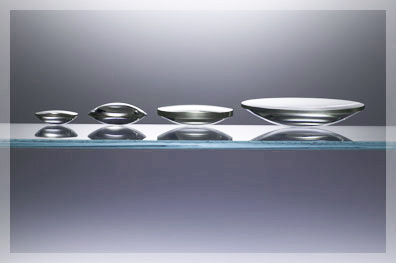
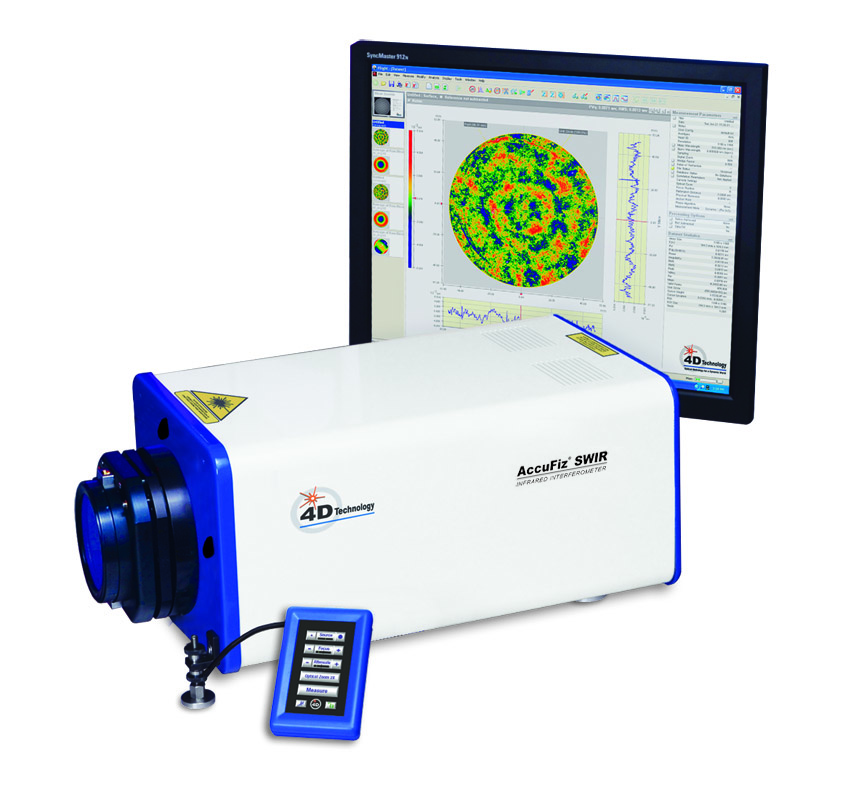
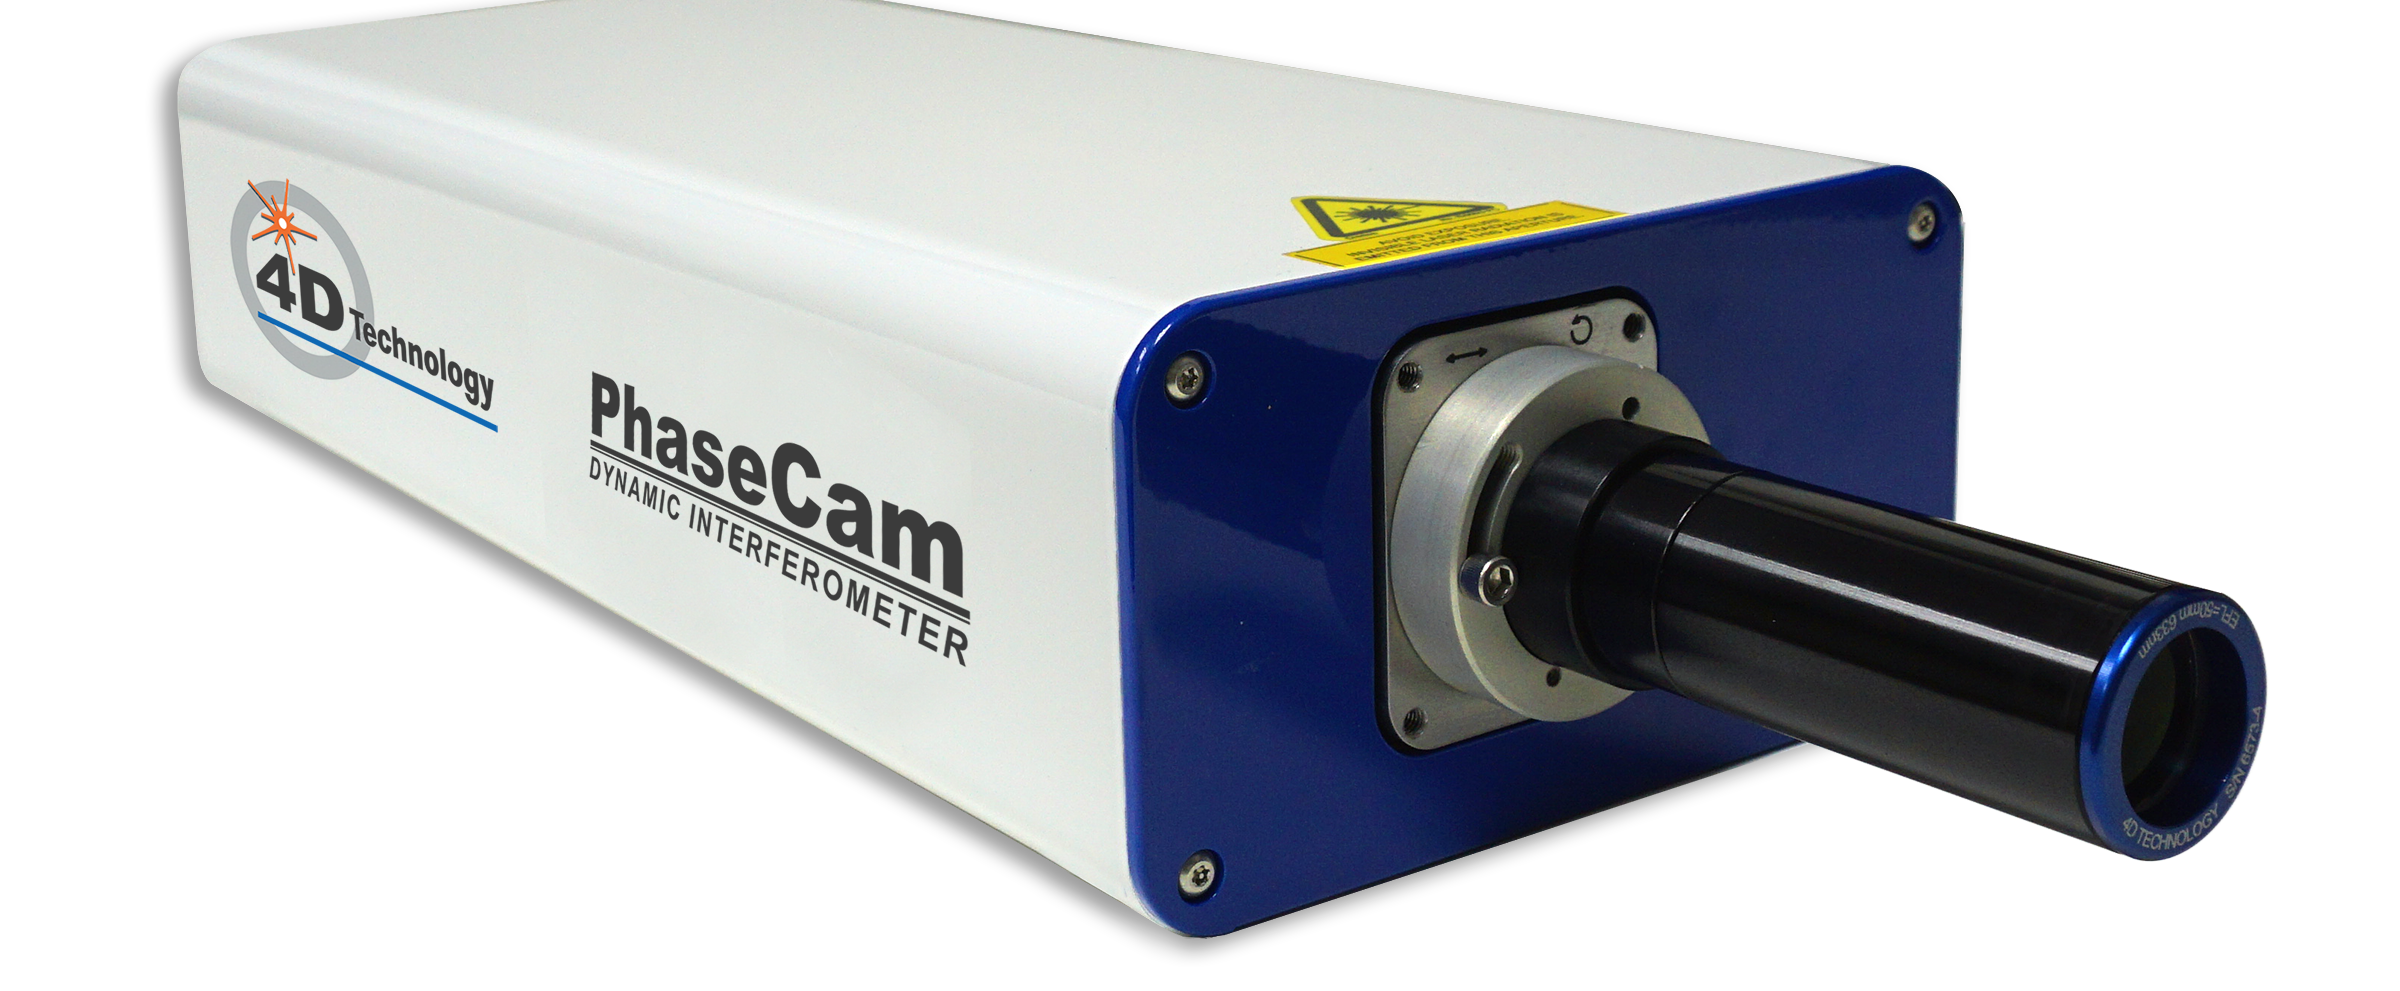
4D PhaseCam Twyman-Green interferometers are the industry choice for measuring concave spherical optics, from several millimeters to tens of meters in diameter. AccuFiz Fizeau interferometers can measure concave and convex spherical optics, with a wide range of reference optics to match test parts. High resolution systems such as the high resolution AccuFiz 6MP can measure steep slopes.

Selecting a reference sphere
Testing of spherical optics requires a reference sphere of higher quality and of an appropriate f/number for your test surface. Match the f/number of your optic under test as closely as possible for the highest spatial resolution results.
If the radius of curvature of your reference optic is not well matched to the clear aperture under test, either the interferogram will be smaller than the clear aperture, or the interferogram will be smaller than the imaging area in the monitor. In the second case, you can use 4D technology’s unique continuous zoom to compensate and even increase the quality of the measurement as you enlarge the image.
Concave surface figure measurement
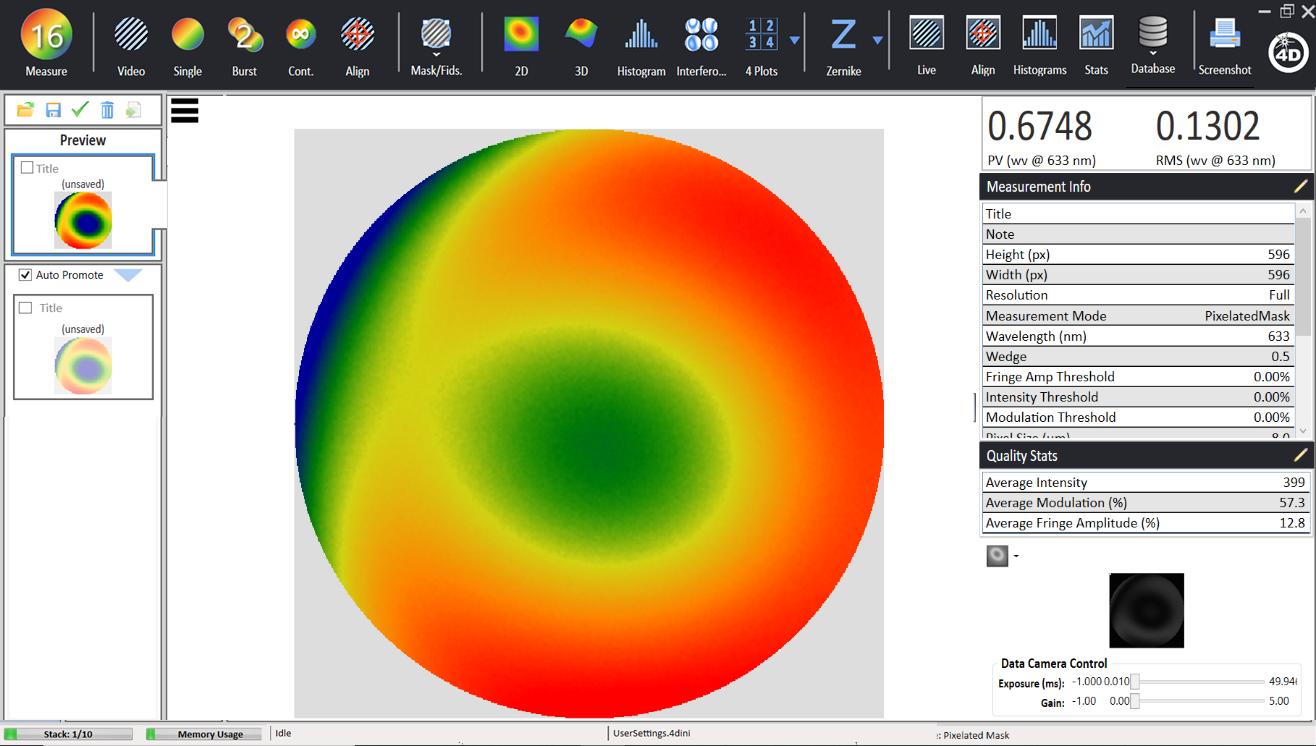
Surface figure measurement of a concave spherical optic determines the amount of departure of the sphere under test from a best fitting sphere. The resulting measurement looks like a height map of a flat surface, because it is measuring the distance deviating between the test surface and the reference optic’s high precision surface.
The test setup requires that you place the center of the test sphere so as to coincide with the transmission (reference) sphere. To align the two optics, you should use a self-centering element holder (three jaw chuck), inserted in a 3 axis mount. A 5 axis mount can be used, and often is, when a metrology lab will also use their interferometer for testing flat optics, which must be further aligned using tip/tilt adjustments.
Convex surface figure measurements
Convex spherical surfaces are measured to determine their surface figure and irregularity. To select the optimum transmission sphere, the radius of curvature of the convex surface under test must be less than the back focal length of the transmission
sphere. Additionally, the radius of curvature of the surface under test divided by the clear aperture ought to be less than or equal to the f/number of the transmission sphere. 4D Technology can provide you with four-inch or six-inch diameter transmission spheres for these applications. Adjustment of the surface under test can be provided by either a 3-axis or 5-axis mount, as with concave setups.
Radius of curvature measurements
Radius of curvature can be measured, in a non-contact manner, using an interferometer. Whether measuring convex or concave spheres, a converging transmission sphere is required. Using the highly contrasted interference fringes, it is relatively easy to find both the focus location of the optic under test and the cateye position. Between each location, the surface under test is translated using an optical alignment guide. The distance that you’ve moved the optic between the two locations is the Radius.
A digitally encoded radius slide presents a numerical readout of the radius distance, as the optic is translated.
Consider spatial resolution
Spatial resolution is the ability to detect differences between adjacent areas, by minimum size of those areas. Especially with high slope spherical optics, the spatial resolution of the interferometer (and therefore its ability to measure high slopes) is limited in part by the digital sensor. The more pixels in the image, the higher the spatial resolution (although the limits of optical resolution can be a factor, too).
Added Technical Resources
High-Throughput Measurement Speeds Production of Large Optics
While dynamic interferometry is useful for verifying an optical grade surfaces in the presence of air turbulence, the method is also effective at determining accurate data to guide polishing early and throughout the process.
Measuring Precision Telescope Optics with a Streetcar Outside your door
Getting a streetcar rail outside their door presented a challenge to NOAO’s Optics Shop: they couldn’t make measurements because of vibrations.
Novel Interferometer Enables Challenging Measurements
Dynamic Interferometry provides high out-of-plane resolution and repeatability, even in the presence of significant vibration and air turbulence, for large telescope optics, general purpose optics, flat panel display components and lithography optics.
Products for Spherical Optics

AccuFiz
AccuFiz Fizeau interferometers can measure concave and convex spherical optics, with a wide range of reference optics to match test parts. High resolution systems like the AccuFiz 6MP can measure steep slopes.

PhaseCam
4D PhaseCam Twyman-Green interferometers are the industry choice for measuring concave spherical optics, from several millimeters to tens of meters in diameter.

4Sight Analysis Software
All 4D laser interferometers feature 4Sight software for comprehensive analysis of spheres, including Zernike and Seidel analysis, slope analysis, and much more.
Get In touch & We will Contact You Shortly
Looking for help with a particular measurement? Tell us about it. Our Applications Engineers are happy to help.
Get In Touch
(520) 294-5600
Location
3280 E Hemisphere Loop, Ste 146
Tucson, AZ 85706
4Dinfo@ontoinnovation.com
Office Hours (Arizona Time)
Mon: 8am – 5pm
Tue: 8am – 5pm
Wed: 8am – 5pm
Thur: 8am – 5pm
Fri: 8am – 5pm
Sat: Closed
Sun: Closed
Send a Message
