by root | Nov 11, 2018 | How-To, Products
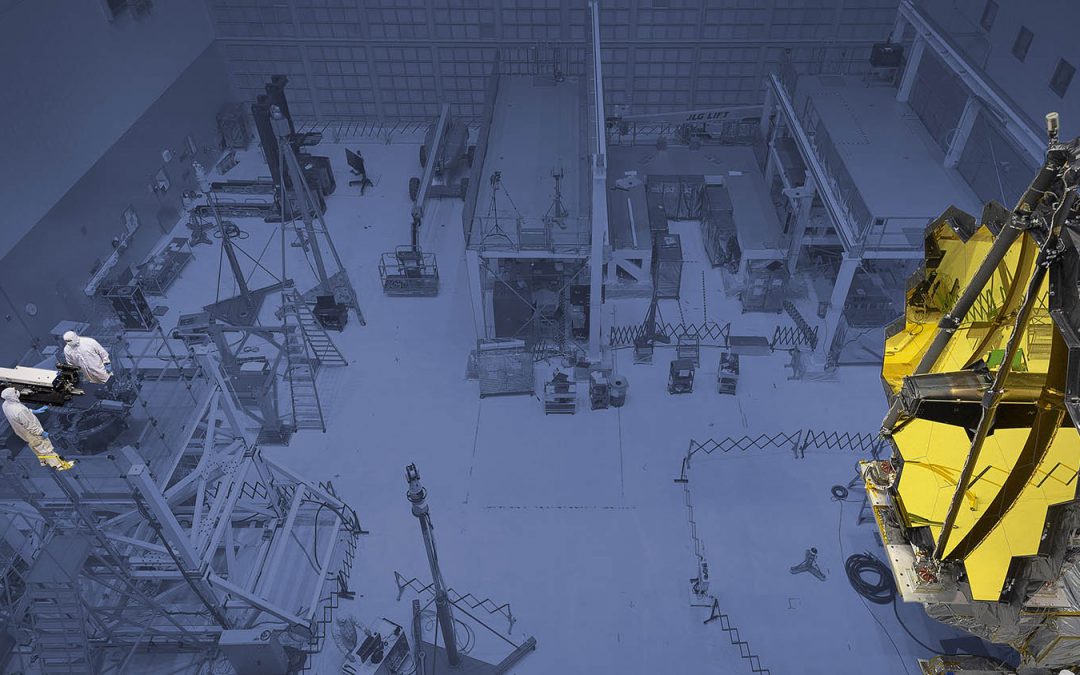
Measuring up to NASA’s James Webb Space Telescope Measuring optics for space-based optical systems, like the James Webb Space Telescope, comes with a high risk-profile. After all, it’s difficult to get systems into space, and once deployed, it can be very hard to make...

by root | Oct 4, 2018 | How-To, News
Using Reference Masks with 4D InSpec Jared Wheeler, 4D Application Engineer, explains why you might want to use one or more reference masks when you’re evaluating your data. A reference mask tells the software to use a particular area on the plot as the zero...
by Edgar Schrock | Nov 29, 2017 | How-To, News
Video: Quick Process for Calibrating the 4D InSpec This video shows the very quick process for periodically calibrating the 4D Technology 4D InSpec Surface Gauge to accurately measure surface defects on precision surfaces. Get In Touch (520) 294-5600 Location 3280 E...
by Edgar Schrock | Jan 24, 2017 | How-To, News, Videos
Video: Measure Turbine Blade Edge with the 4D InSpec This video shows how the 4D InSpec Surface Gauge is used to measure turbine blade edge defects. The video includes information on the impact of focus, brightness and settings on measurement results. Update: This...
by Edgar Schrock | Jan 20, 2017 | How-To, News, Videos
Video: Using the 4D InSpec Feature Analysis This video shows how to use the Feature Analysis with the 4D InSpec Surface Gauge. The Feature Analysis provides instant measurement of all defects or features in the field of view, including depth, width, volume and...
by Mike Zecchino | Oct 11, 2016 | How-To, News
Measure Corrosion with the 4D InSpec Use and environmental exposure inevitably lead to wear and corrosion of precision surfaces. Left unchecked corrosion can impede performance and can ultimately lead to component failure, sometimes with catastrophic results....
