Edge Radius
The sharp edges of precision machined surface are “broken” by rounding off the corner to create an edge radius. The process is intended to ensure part longevity, safe handling, and proper performance.
An edge radius serves several purposes depending on the application. Radiused edges limit possible fracture points for components that are subject to high stresses or loads. Precision edge radius can be critical to sealing of parts or to liquid flow in aerospace applications. Where component edges effect air flow, such as on turbine blades and nozzles, the edge radius helps ensure proper aerodynamic performance. Lastly, an edge radius reduces injuries from sharp edges and burrs, both in the production environment and in the field.
Visual inspection cannot put a number on an edge radius
Controlling edge radius is a critical step for ensuring part performance. Traditionally on the shop floor, edge radius has been inspected visually by comparing it to a standard. But visual inspection is inherently subjective. Results found vary greatly depending on the inspector, the lighting, and alignment of the visual comparator. More importantly, a visual test provides only qualitative—not quantitative—data, which is insufficient for manufacturing precision components.
Single-trace methods are too variable for precision measurements
A stylus profiler is a common instrument for measuring edge radius. Though widely used, single-trace measurements are prone to large errors due to variability in both the location and angle of the measurement, as the image below shows.
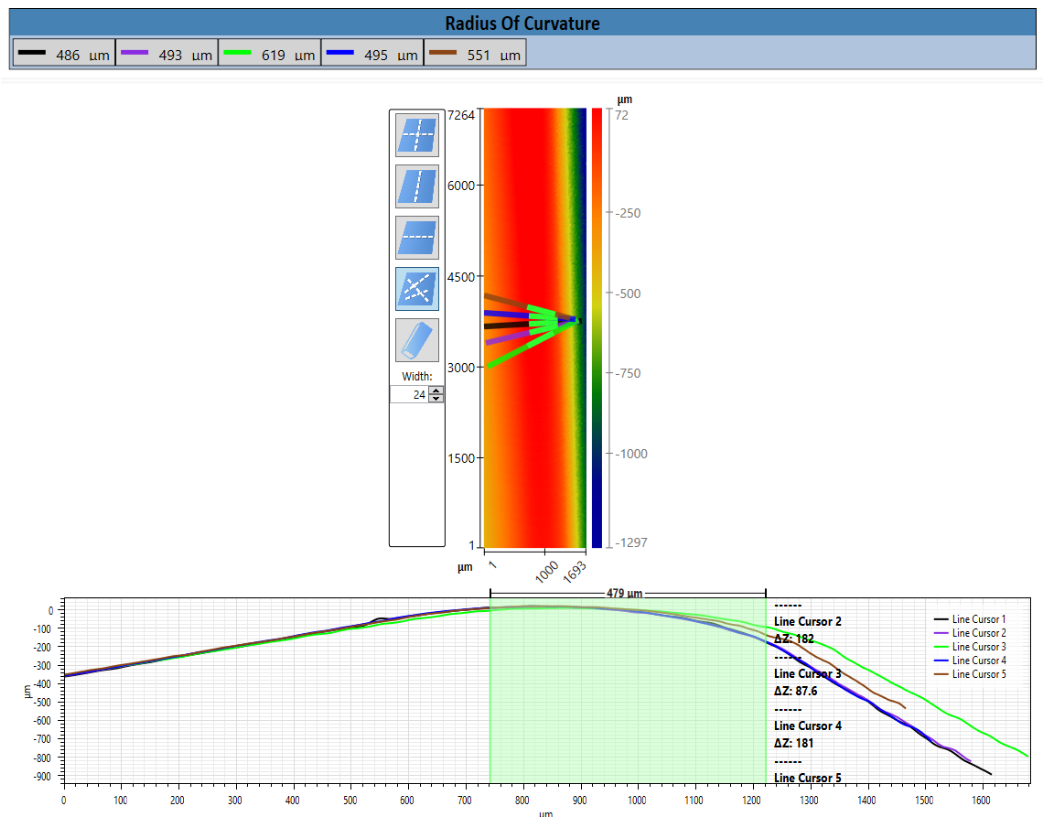
Stylus-based profilers can also struggle to measure across negative radii in corners. The stylus profiler’s limited vertical range may prevent it from being able to measure large radii, such as those around machined holes.
Alignment is problematic. This “fast” method can often require more than 30 minutes of setup and scan time to achieve a single high-quality trace.
3D measurement provides accurate, repeatable edge break analysis
Measuring edge radius accurately and repeatably requires a 3D technique that can be accomplished quickly, with minimal operator-to-operator variability.
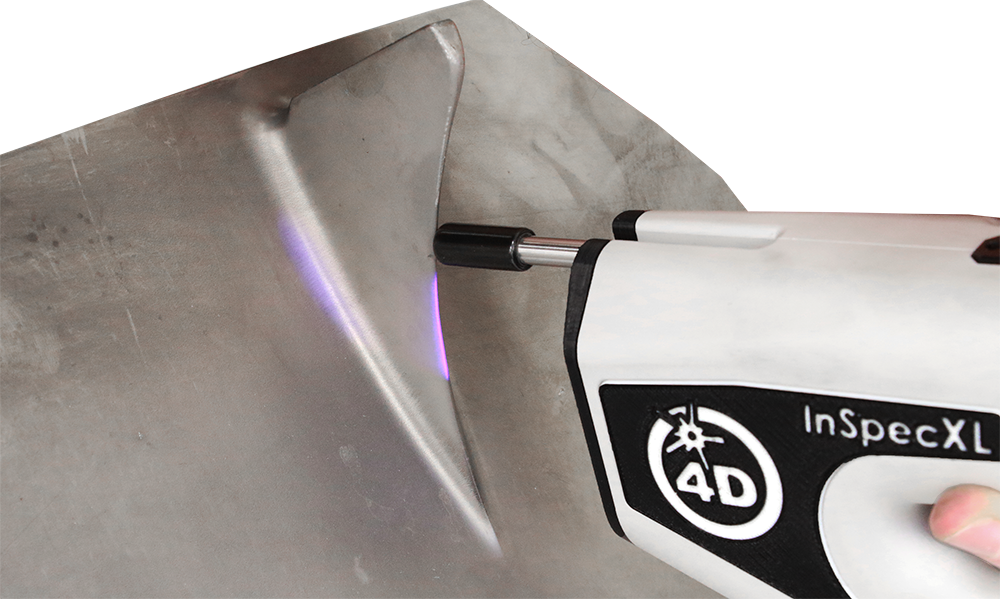
The 4D InSpec is a handheld, 3D measurement device that uses polarized structured light for rapid, simple, shop-floor measurement of edge radius and other precision part geometries. Accuracy, repeatability, reproducibility, and durability make the 4D InSpec the right tool for measuring edge radius in shop-floor environments.
How edge radius measurement works
The handheld 4D InSpec can be placed directly on the edge radius to be measured. Alignment aids set the instrument at the correct distance and angle for various part geometries. The instrument provides immediate feedback to aid alignment. Analysis of the radius uses smart software to evaluate the tangent or shortest radius in the measurement.
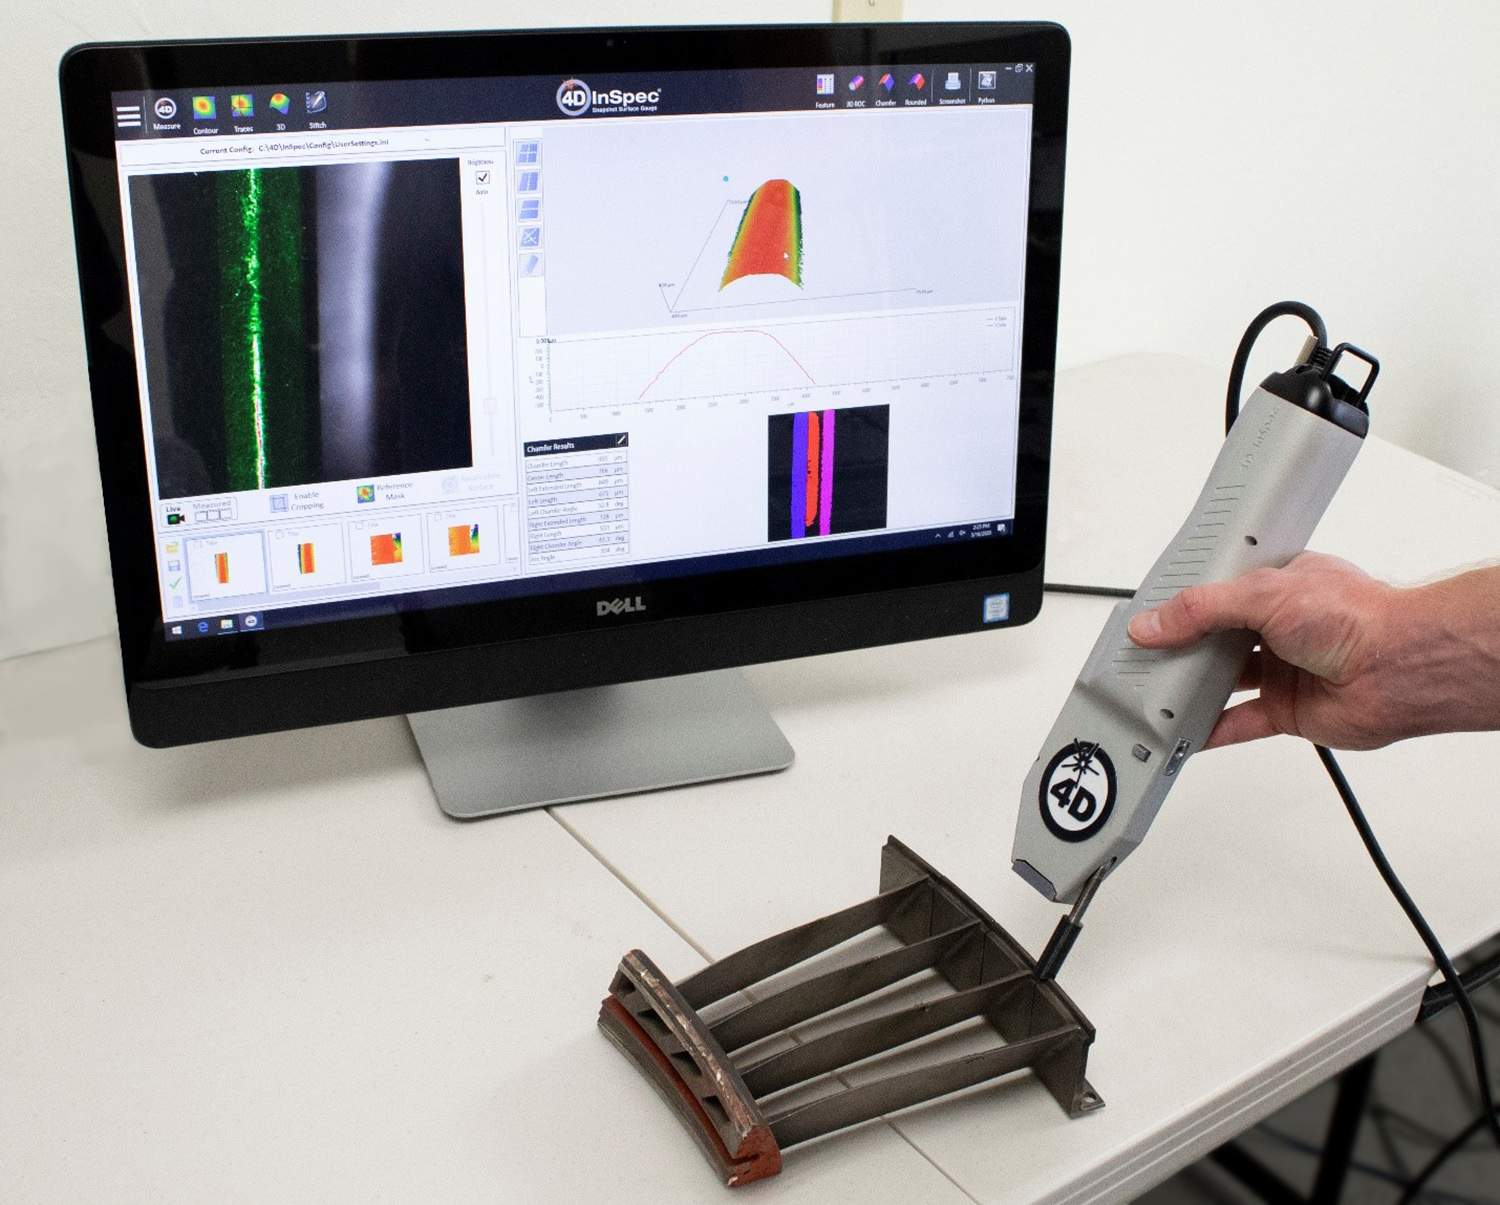
The software included with the 4D InSpec aligns a cylinder fit to the edge geometry, rather than treating the measurement as a series of adjacent traces. This method ensures that tilt and rotation of the instrument is consistent, with respect to the multiple surfaces being measured.
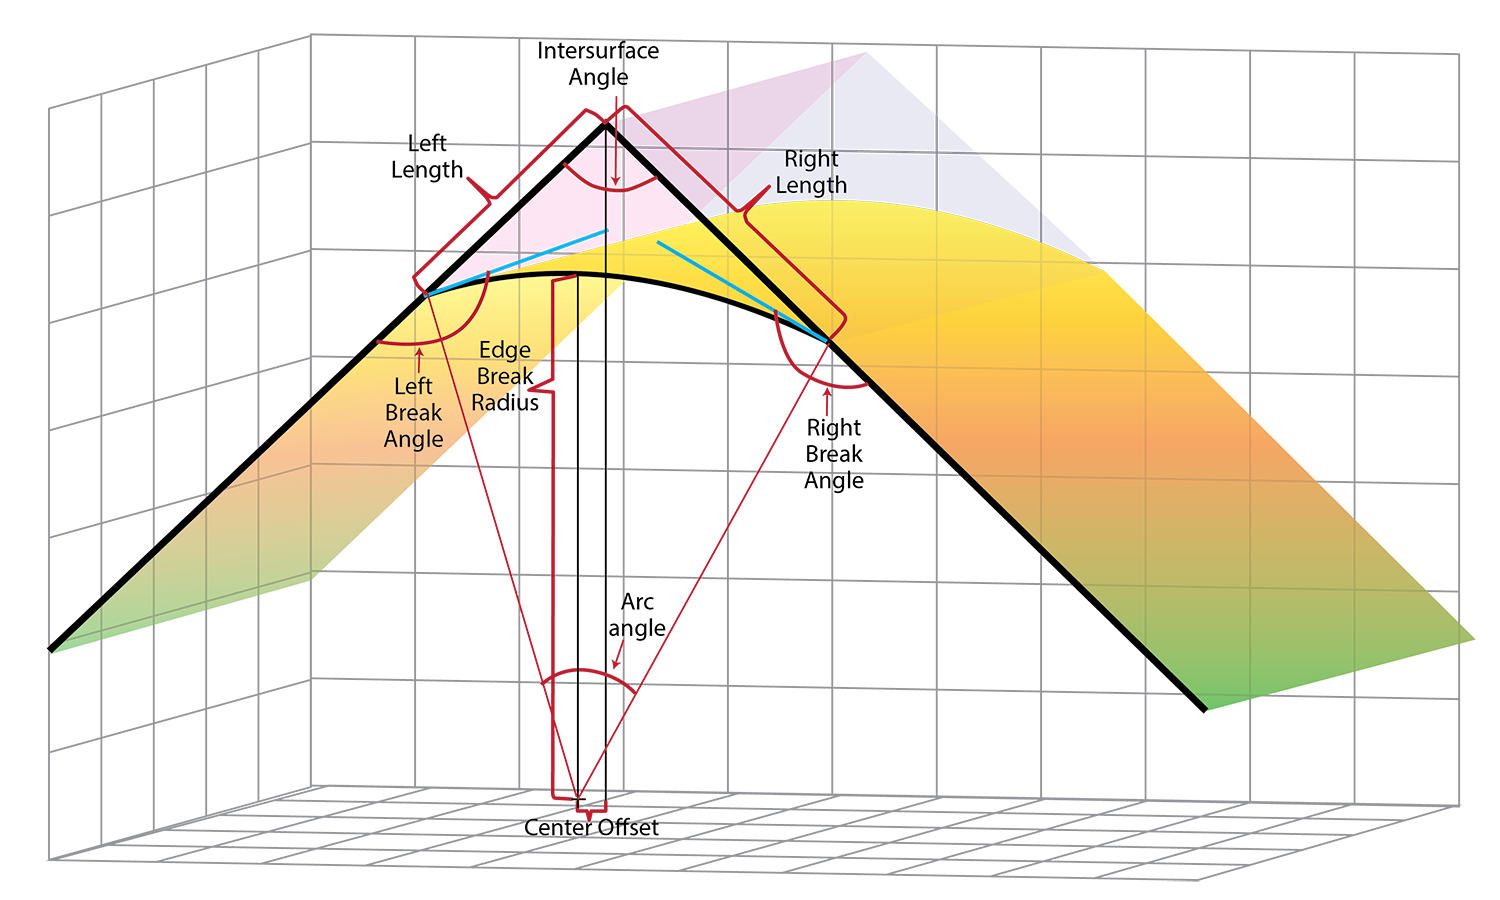
Basing the measurement on a cylinder fit, rather than a single trace or even an average across multiple traces, greatly improves accuracy and makes for much more repeatable measurements. This combination of accurate edge radius measurement hardware and geometry-based analysis ensures repeatable results across, operators, shifts and facilities.
As the diagram above suggests, 3D measurement allows for reliable calculation of average break angles, angles of the two planes as they converge, and offset of the radius to the convergence of the two planes.
Added Technical Resources
3D shop floor characterization of radii and chamfers
A published paper on how best to get a measurement from a chamfered surface or a corner that needs edge break.
Developing Chamfer and Edge Break Measurements
Manufacturers of many types can benefit from measuring edge break. To help those customers, we are testing our Edge Break application for 4D InSpec.
Learn more about the products
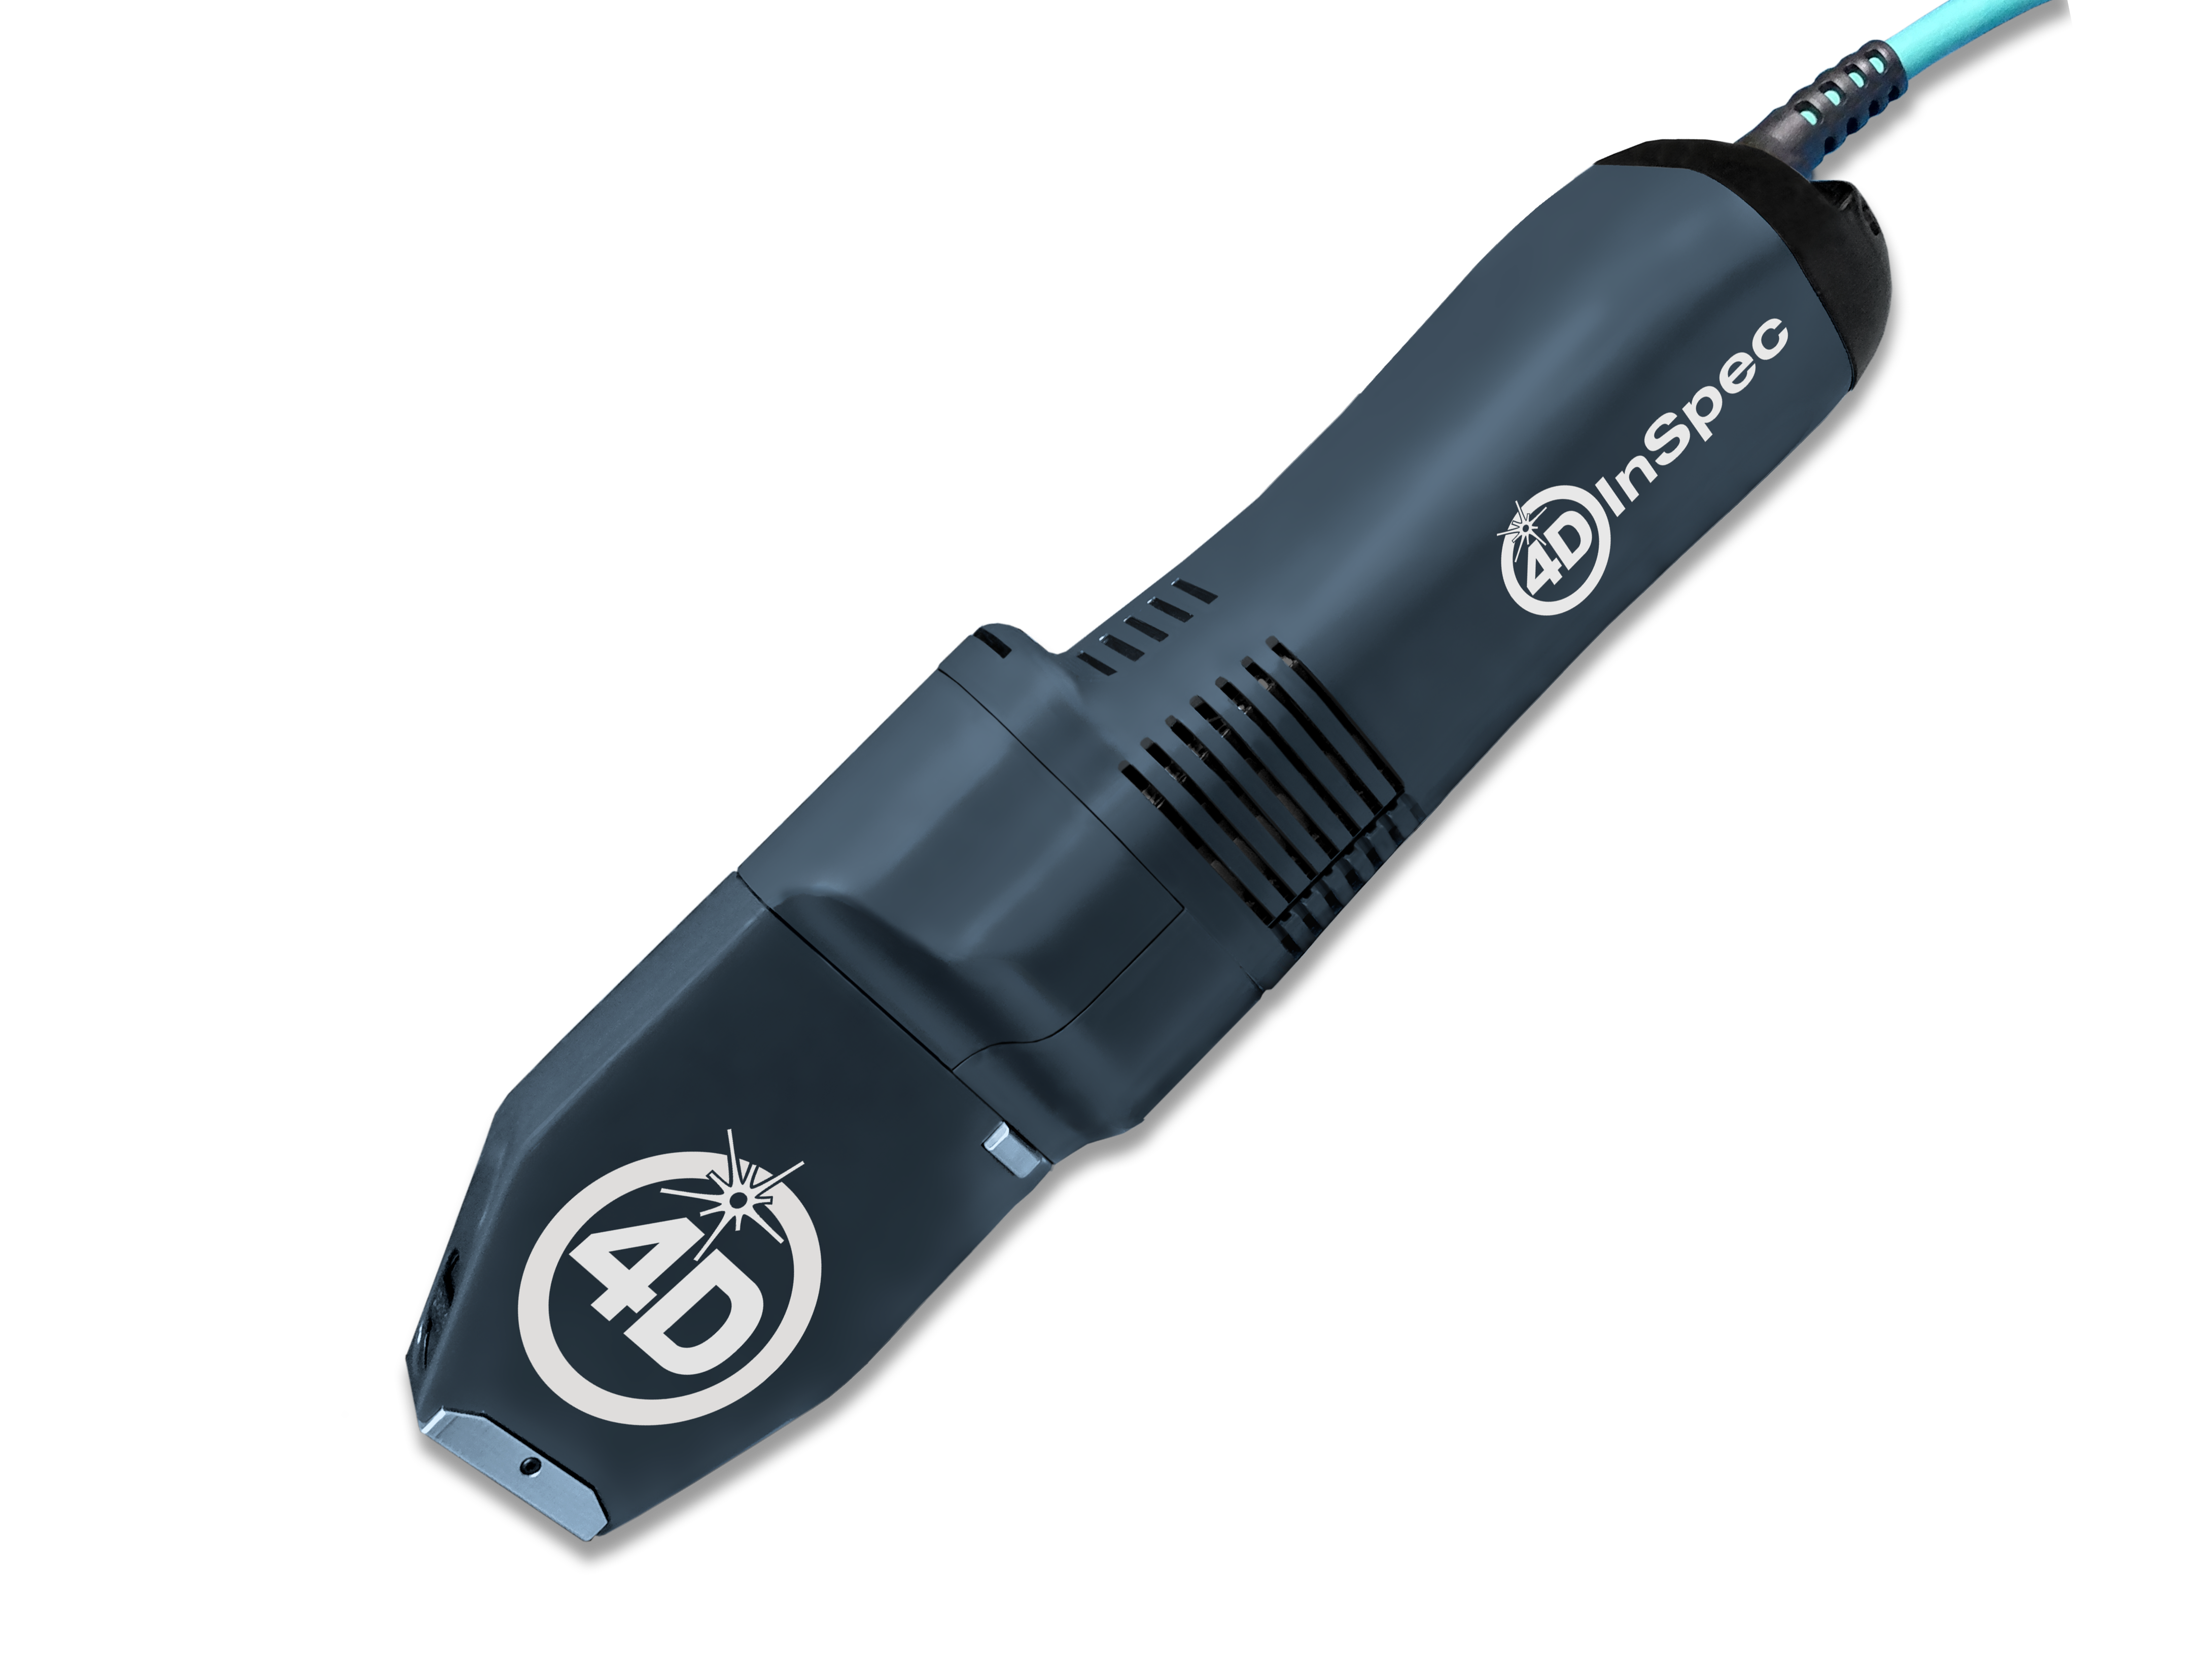
4D InSpec
4D InSpec provides non-contact measurement of surface features and defects, on the factory floor, in machine shops and in field service applications.

4D InSpec XL
A handheld defect inspection gauge that works like 4D InSpec standard, but with a larger field of view, to measure wider and deeper features.
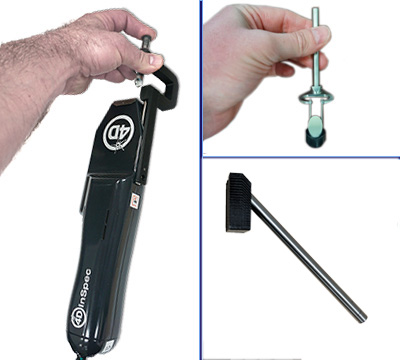
InSpec Accessories
Accessories for improving portability, ease of use, or for accessing hard to reach measurements like sidewalls and through-holes.
Get In Touch
(520) 294-5600
Location
3280 E Hemisphere Loop, Ste 146
Tucson, AZ 85706
4Dinfo@ontoinnovation.com
Office Hours (Arizona Time)
Mon: 8am – 5pm
Tue: 8am – 5pm
Wed: 8am – 5pm
Thur: 8am – 5pm
Fri: 8am – 5pm
Sat: Closed
Sun: Closed
Send a Message
